Category: Linux


1. Below command counts X days old files and directories at Present directory.If you want to sort from different directory use path instead of dot(.)

find .  -mtime +x | wc -l (present directory)

find /home/varun/  -mtime +x | wc -l (sort in different directory)

2.Below Command lists X days old files and directories.

find .  -mtime +x | ls -ltr

3.Below command lists specific format files of X days old.

example: If you want all files which are 50 days older and end with log extension

find -name “*.log” –mtime +50

4.If you want to delete 50 days old files with extension “.log”.

find . -name “*.log” -mtime +50 -exec rm -f {} \;

5.If you want to delete 50(any number) days old files and directories recursively then use below command.

find . -mtime +1100 -exec rm -rf {} \;

More Info:

find: the command that will search for the files
/path/to/files/: the top level directory to start searching
-type f: so we don’t remove directories, only files
-mtime +7: files older than ’7′ days. Change to ‘+14′ to delete files older than 2 weeks.
-exec: what to do with the files we find
rm -rf: remove them recursively, force
{}: this represents each file we find
\;: the end of the exec

Establishing network connection between linux (on VM) and windows 

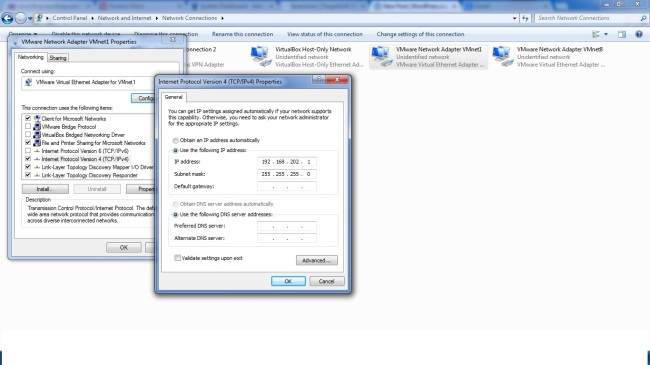
By default installation of VM Ware Workstation you will get 1 or more network adapters on your network and sharing center , in my case 2 are been created with installation.

Image

Image

Configure those two network adapters manually  with ip address(ipv4) with “192.168.20.1” and “192.168.202.3″  and with default subnetmask value “255.255.255.0”

Above IP address that i given in vmware network adapters are can be anything (192.168.***.***), 192.168 are must be same and rest is your wish.

Below is my network preference in VM Ware for linux operating system that i am going to configure below.

13

Open VM Ware workstation and power on the Linux operating system.

And then next open a terminal.

Image

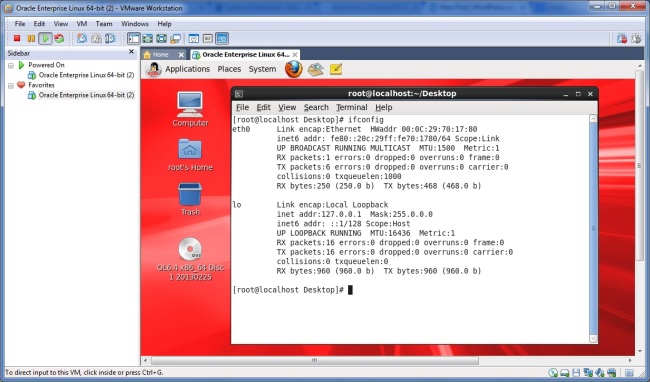
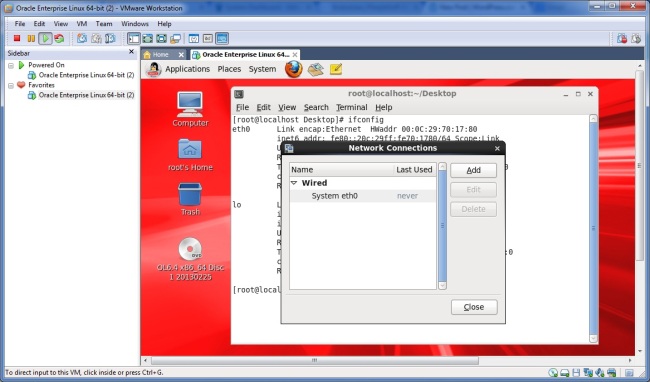
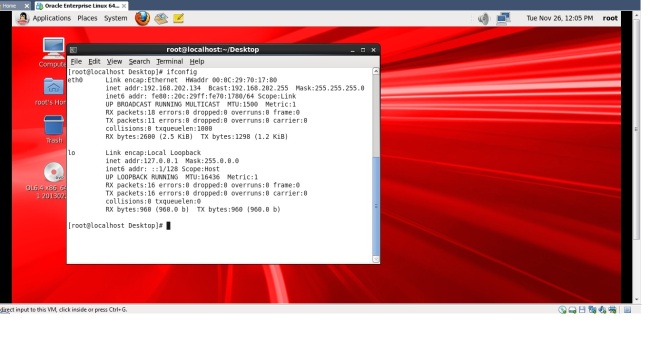
Execute command “ifconfig” from your terminal as a root user to get the network  adapters and its corresponding ip address.

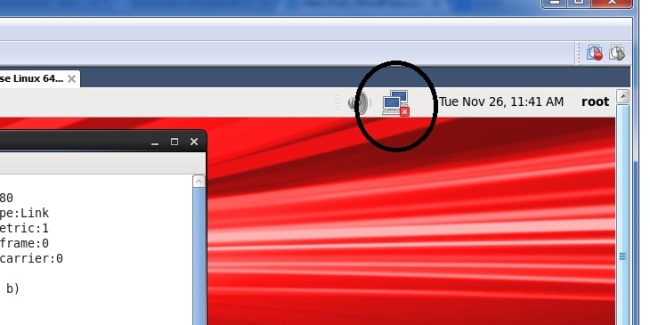
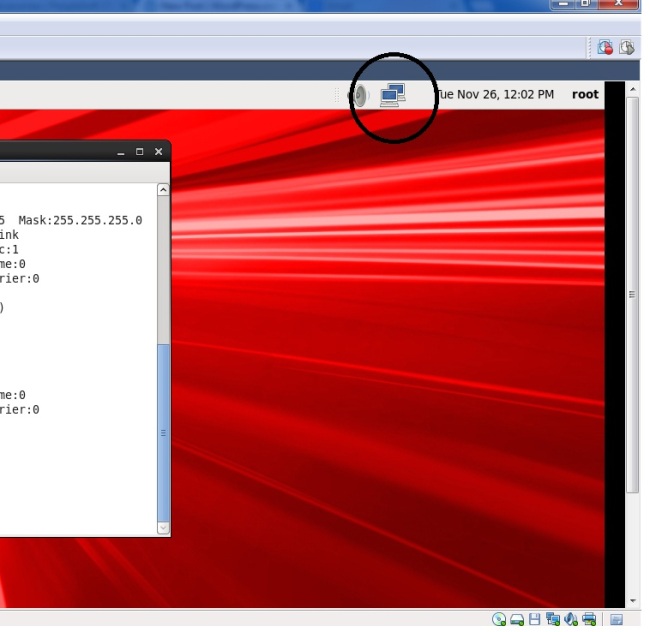
If no network is established between Linux(guest) to windows(host operating system) you see on network icon with cross mark with status “no network connection

Image

Image

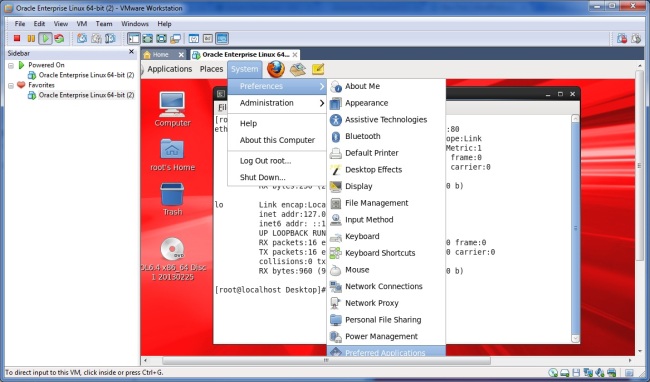
select System –>Preferences –> network connections

Image

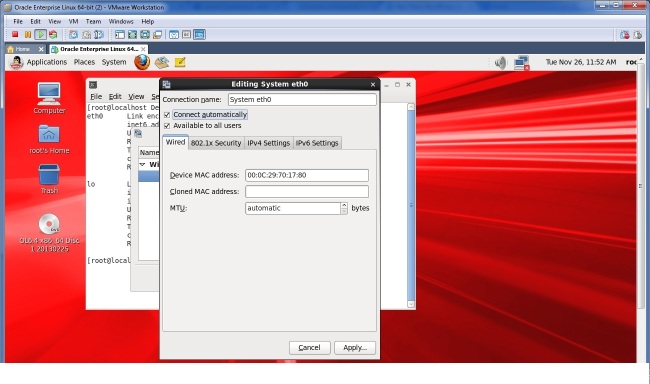
select “System eth0”  and select edit button.Image

Make sure connect automatically and available to all users are checked from wired tab.

Image

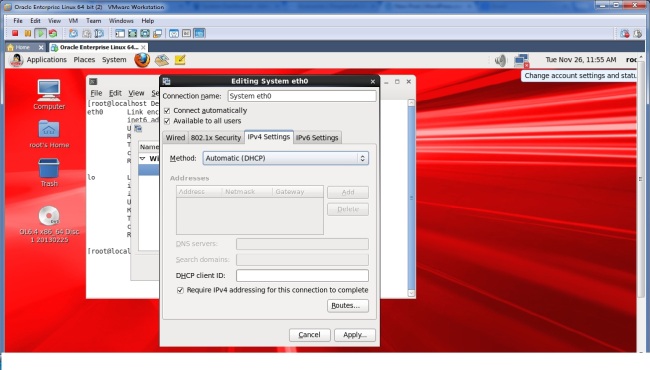
Next select Ipv4 settings tab.

Image

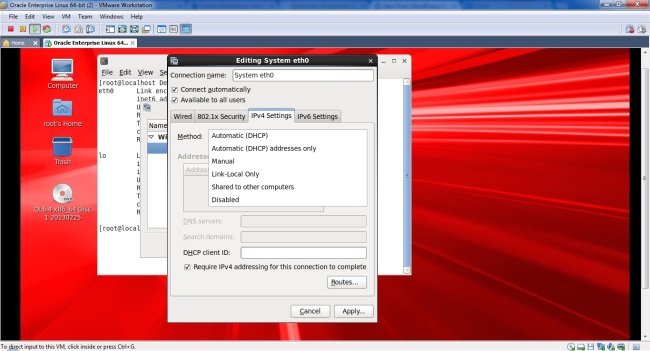
select Automatic(DHCP) address only from drop down list.

And then next select apply and close. 

Image

Now the network is established between guest and host operating system with no cross mark on network icon.

Image

execute “ifconfig” command in terminal to get the ip address of adapter eth0 that we configured in above steps.

Now you can connect from Linux(guest operating system) with above ip address to your Windows operating system(host).

NOTE : If you find an issue and not able to establish connection between guest and host operating system after going through below complete steps , just select “obtain ip address automatically” in your windows machine as shown below.

Image

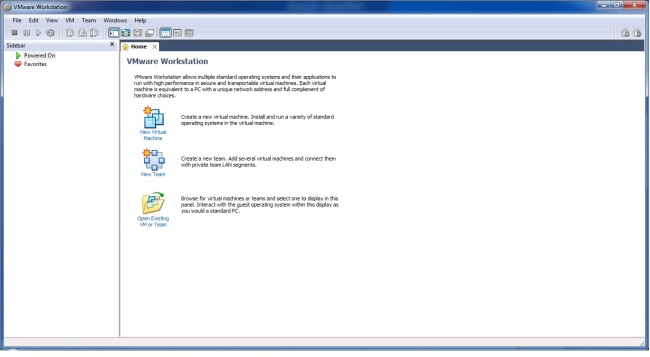
After Installing VMware Workstation(7.1.6) on your machine,Open VMware Workstation.

Image

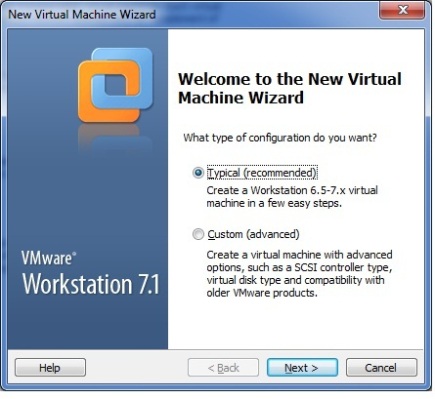
File –>New –>Virtual Machine

Image

Next.

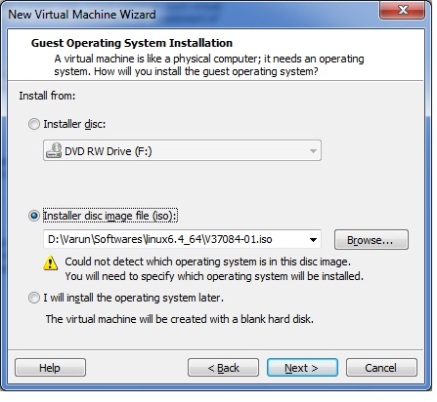
browse the installation file ( i am using iso file)

Image

Next.

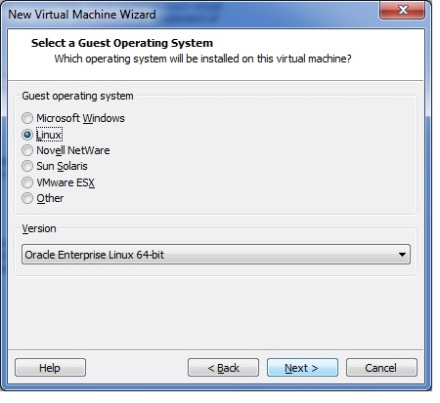
Choose the type of operation system that you are going to install in Vm.

Image

Next.

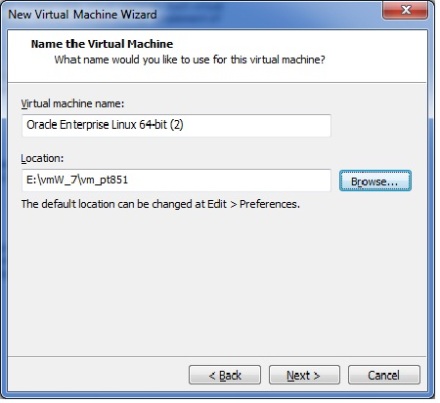
Specify the virtual machine name(you Wish) and select the location where to store the vm disk files.

Image

Next.

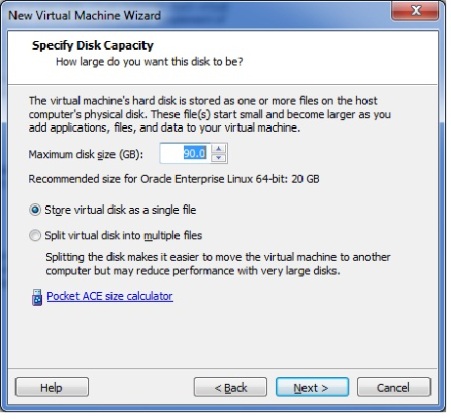
Allocate the space for the vm disk files, it can be increased later on.

Image

Next.

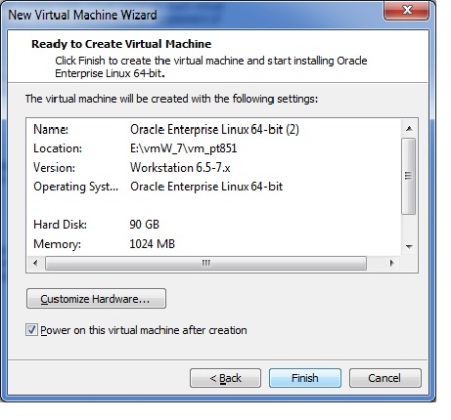
If you want to customize  select customize or select finish.

Image

Finish.

Image

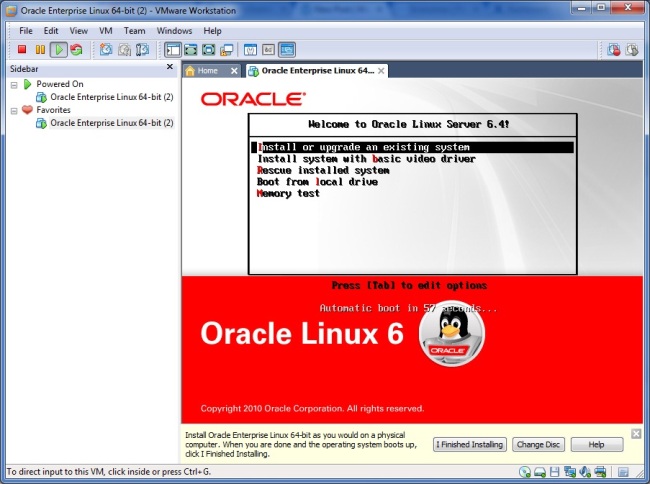
select Install or upgrade an existing system , and then press enter.

Note:- To get mouse courser out of VM Machine just do Ctrl+Alt.

Image

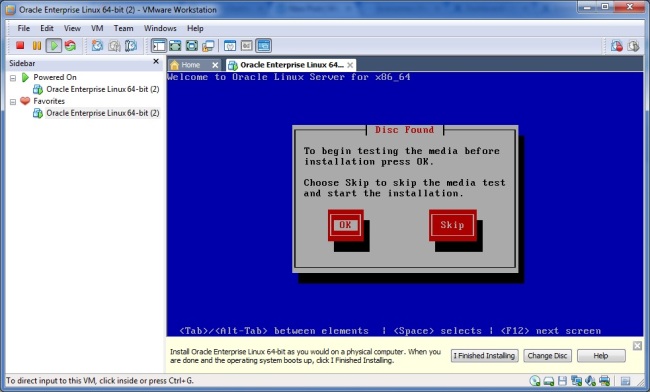
To make sure the installation files are good to install , select ok to check or else just select Skip.

Image

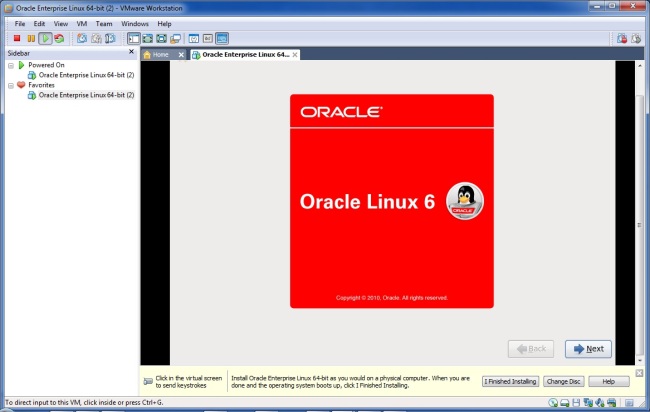
Next.

Image

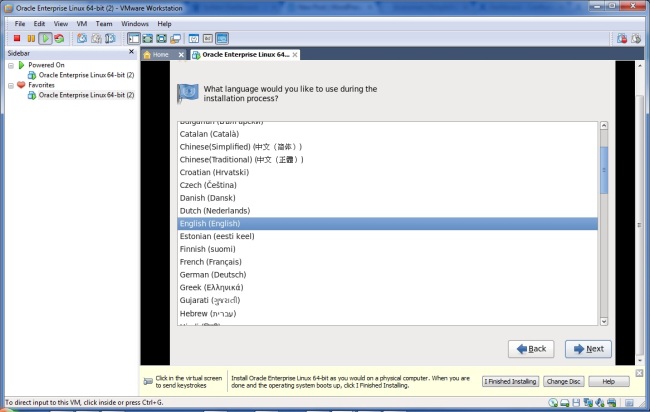
Choose the language , then Next.

Image

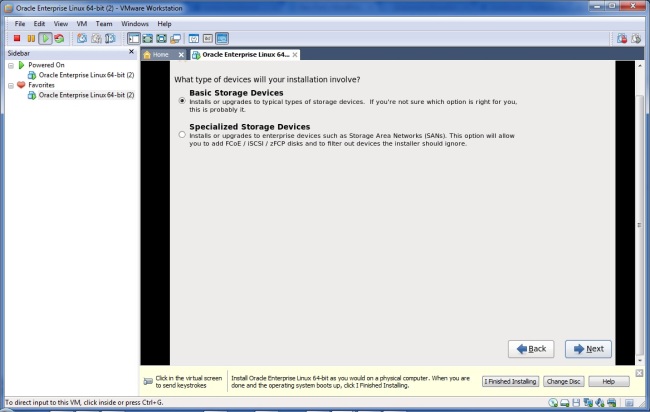
Select type of storage device, i prefer basic storage for my installation.Then Next.

Image

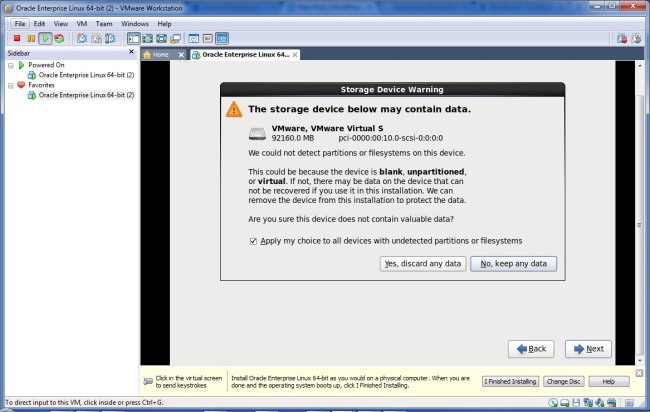
I choose Yes, discard any data option , since i want to make sure no data present in the vm disk file that i am going to install linux6.4. Then Next.

Image

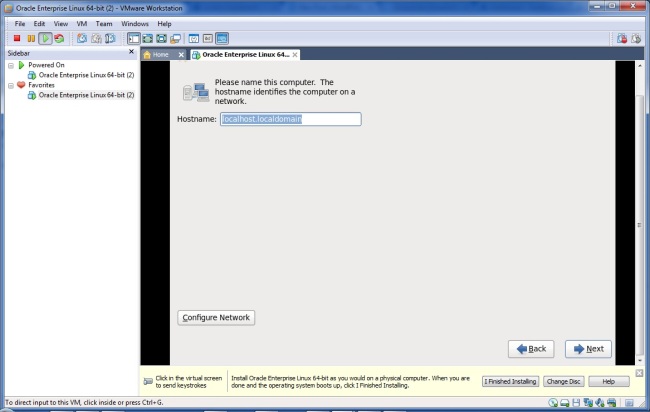
Enter the host name and then next.

Image

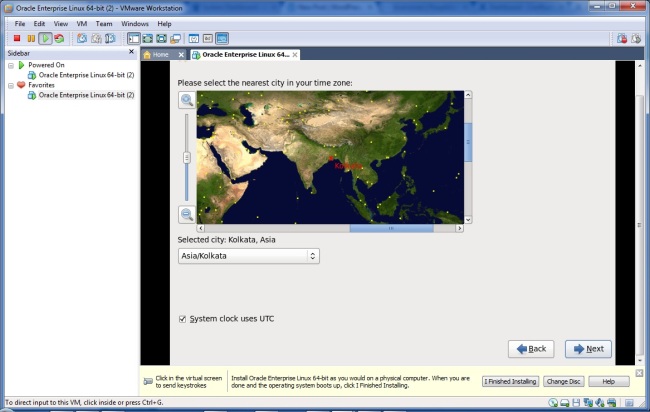
Set the time zone and then Next.

Image

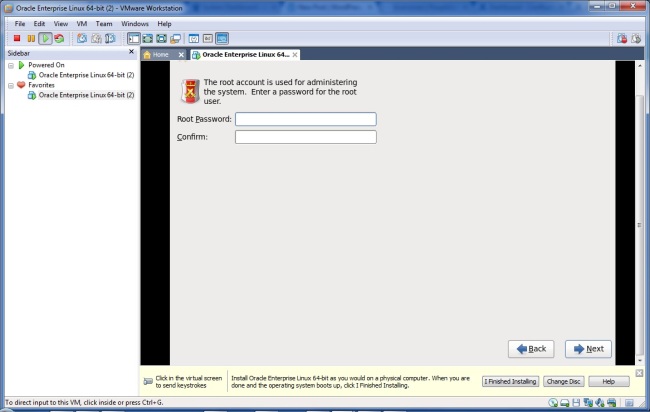
Enter the Root user password and then next.

Image

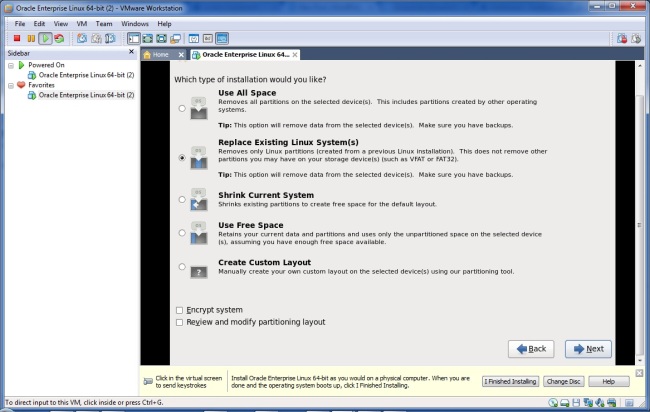
Go through the type of installation , i choose Replace existing linux operating system.  select Next.

Image

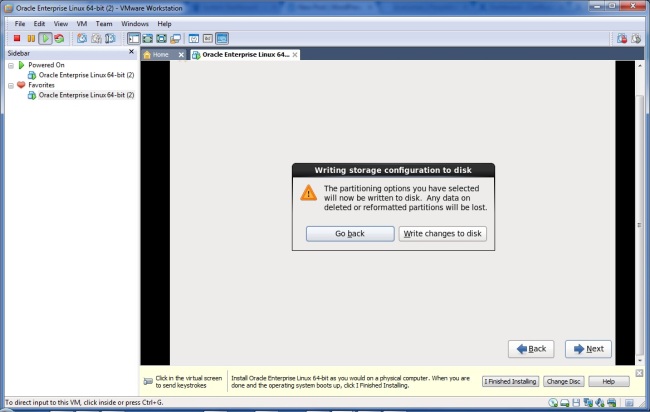
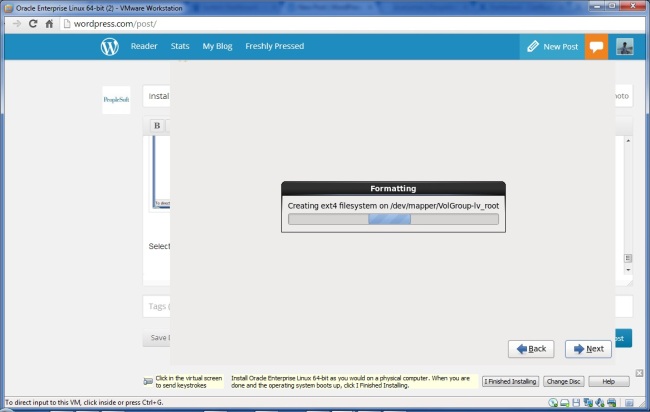
Select Write changes to disk button to save all the changes made above.

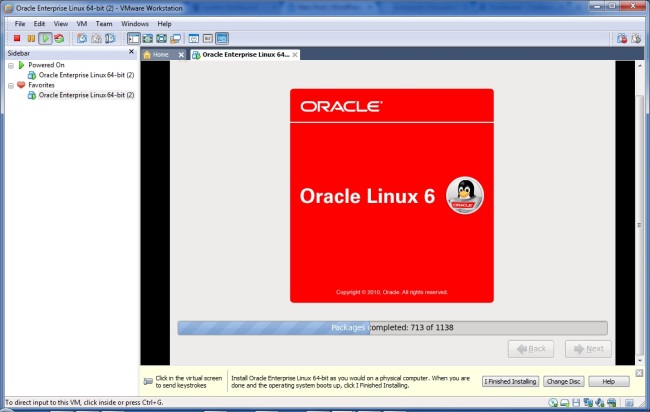
select Desktop from the list to get GUI, and you can install new tools or rpms by selecting  customize now radio button.

Image

Image

Click on “I Finished Installing” button to install vm tools  which makes the mouse courser to move freely in between guest and host operating systems.

Image

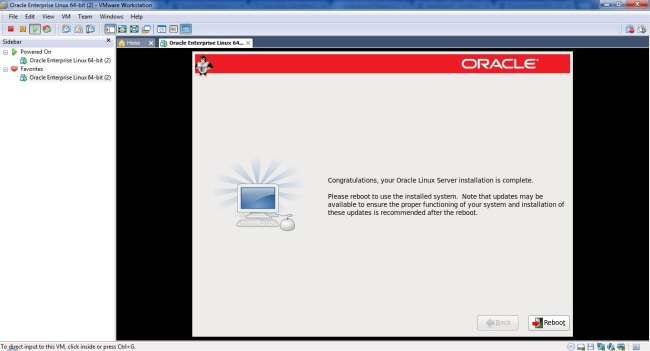
Select Reboot.

Image

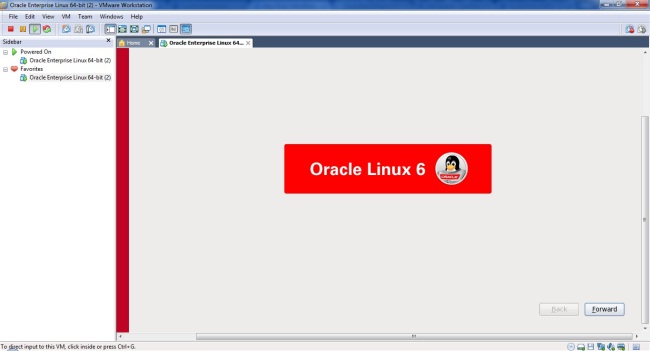
Select Forward.

Then in next window, select ” i accept the agreement ” then forward.

In next window , you can create another user or else select forward.

In next window , select time and date, then forward .

In next window select next and finish.

At last it reboots the linux operation system in VM , then next login screen appears , give root user and password.

Image

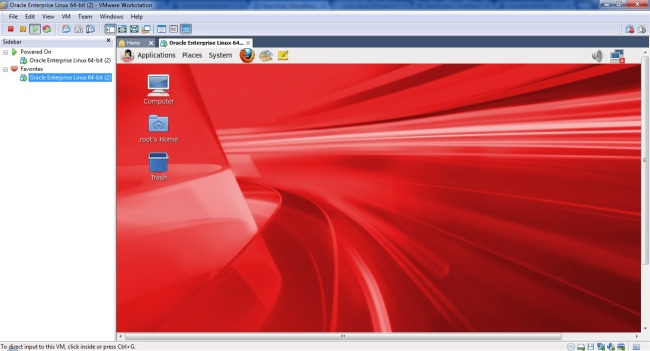
Installation is Done.

Yellowdog Update , Modifier(yum) i s an open-source command line package management utility for Linux operating systems.

Yum allows you to install RPMs very easily.

Before going through YUM you have to configure the repository In this present document  i am going to show how to configure repository using ISO file.

  • Mount the Linux installation cdrom  to /mnt

Ex:  [root@localhost ~]# mount /dev/cdrom /mnt/
mount: block device /dev/sr0 is write-protected, mounting read-only
[root@localhost ~]#

  • As a root user change directory to /etc/yum.repos.d/ . create a file with the name as you wish and should be with the extension .repo  and write the code as below in the file that you created.

Ex: [root@localhost yum.repos.d]# touch varun.repo

[root@localhost yum.repos.d]# vi varun.repo

[varun]

name=varun

baseurl=file:///mnt

# NOTE: if you are working with Linux 5.* then above baseurl=file://mnt/server

gpgcheck=0

enabled=1

Save the file.

  • Edit public-yum-ol6.repo file from /etc/yum.repo.d/ location. Ensure  “enabled=0” is set in the public-yum-ol6.repo file, if  enabled is set to 1 make it to 0 using text editer.
  • List all rpms in repository with below command.

[root@localhost media]# yum list all


  • Now you can install with yum utility as shown below.

Ex:    [root@localhost ~]# yum install gcc*

Loaded plugins: refresh-packagekit, security

Setting up Install Process


Tar Backup

Tar is  utility to Archive the data in Unix flavor Operating Systems

1 . Creating uncompressed Tar  archive

  •     This is the basic command to create a tar archive.
  •     $tar cvf file.tar file_name
  •      Extracting uncompressed tar file
  •     $tar xvf file.tar

2 . Creating a tar gzipped archive

  • Basic command to create gzipped archive
  • $tar czvf file.tar.gz file_name
  • Extracting gzipped archive
  • $tar xzvf file.tar.gz
  • to view contents of gzipped archive
  • $tar txvf file.tar.gz

3 . Creating a bzipped tar archive

  • Basic command to create bzipped tar
  • $tar cjvf file.tar.bz2 file_name
  • Extracting bzipped tar archive
  • $tar xjvf file.tar.bz2
  • to view the contents in bzipped archive
  • $tar tjvf file.tar.bz2

Size of the above tar archives     tar>tar.gz>tar.bz2

bzip2 takes more time to compress and decompress than gzip.

bzip2 archival size is less than gzip.