Latest Entries »

Issue: 

While starting Application Server or Process Scheduler for very first time, Boot process fails while starting JSH or WSL  server processes.

In my case i am with PT 851 and HRMS 9.1.


Tuxedo Log:($PS_HOME/appserv/<DOMAIN>/LOGS/TUXEDO****)

100837.psapp.com!JSH.22674.1236849872.-2: LIBTUX_CAT:681: ERROR: Failure to create message queue
100837.psapp.com!JSH.22674.1236849872.-2: JOLT_CAT:1088: “ERROR: tpinit() failed, tperrno = 7”
100837.psapp.com!JSL.22671.285207664.0: JOLT_CAT:1079: “ERROR: Error starting mininum number of handlers”
100837.psapp.com!JSL.22671.285207664.0: LIBTUX_CAT:250: ERROR: tpsvrinit() failed
100837.psapp.com!tmboot.22651.318214464.-2: tmboot: CMDTUX_CAT:827: ERROR: Fatal error encountered; initiating user error handler
100837.psapp.com!WSL.22669.1231995104.0: WSNAT_CAT:1196: INFO: Terminating handlers in preparation for shutdown
100837.psapp.com!WSL.22669.1231995104.0: WSNAT_CAT:1197: INFO: Exiting system
100843.psapp.com!BBL.22648.4133522528.0: CMDTUX_CAT:26: INFO: The BBL is exiting system
100846.psapp.com!PSADMIN.22115: End boot attempt on domain TESTHR


Solution:

As a root user add or modify with below kernal value in  sysctl.conf file from /etc location. After adding below value run ‘sysctl -p’ command as root user.

kernel.msgmni = 1024

Try to boot the domain with changed value. Hope this should resolve. 

1 Login into database as super user(SYS), and change the password of SYSADM user at DB leavel.

SQL> Alter user SYSADM identified by <new_password>;

SQL> select * from SYSADM.PSACCESSPRFL; — (Here you will get the information of Symbolic ID)


2.Login to Data Mover in bootstrap(SYSADM) mode with newely changed password and run the following command:

CHANGE_ACCESS_PASSWORD <Symbolic ID> <new_password>;
ENCRYPT_PASSWORD *;

This command will change the SYSADM password, and that will update the PSACCESSPRFL table as well and will encrypt the entry (ACCESSID and ACCESSPSWD).

Issue:

 When you are trying to boot the application server for the first time after a fresh installation, Boot attempt freeze while starting PSAPPSERV server process. And same error is reflected in Application designer when you are trying to login with oper id (PS).


In my case i am with Peopletools 851 and HRMS 9.1


Error Message in Application designer:

File: SQL Access ManagerSQL error. Stmt #: 2  Error Position: 0  Return: 404 – ORA-01017: invalid username/password; logon denied


Error Message in Application server logs($PS_HOME/appserv/<DOMMAIN>/LOGS/PSAPPSRV******)


PSAPPSRV.24496 (0) [06/08/14 07:02:05](0) Cache Directory being used: /home/psoft/pt851/appserv/HRTEST/CACHE/PSAPPSRV_1/
PSAPPSRV.24496 (0) [06/08/14 07:02:05](3) File: SQL Access ManagerSQL error. Stmt #: 2 Error Position: 0 Return: 404 – ORA-01017: invalid username/password; logon denied
PSAPPSRV.24496 (0) [06/08/14 07:02:05](1) GenMessageBox(200, 0, M): SQL Access Manager: File: SQL Access ManagerSQL error. Stmt #: 2 Error Position: 0 Return: 404 – ORA-01017: invalid username/password; logon denied
PSAPPSRV.24496 (0) [06/08/14 07:02:05](1) GenMessageBox(0, 0, M): Database Signon: Could not sign on to database HRTEST with user PS.
PSAPPSRV.24496 (0) [06/08/14 07:02:05](0) Server failed to start


Solution:

Change the Access password(SYSADM). This will help you.

Setspace.sqr  :-

Script to populate or synchronize Tablespace information with the system catalog.

export PS_HOME=/psoft/pshome/pT851
export REPNAME=/psoft/pshome/pT851/sqr/setspace.sqr
export DB=SYSADM/SYSADM@TEST
export SQR=$PS_HOME/bin/sqr/ORA/bin/sqr
$SQR $REPNAME $DB -I$PS_HOME/sqr/ -F/tmp/ -ZIF$PS_HOME/sqr/pssqr.ini


This step populates all Tablespace information in the PSRECTBLSPC table. 

The values stored in the DDLSPACENAME field are updated with current values found in the system catalog for tables already defined in your database. If you modified Tablespace names from the PeopleSoft-delivered names, this step makes those same changes in the PeopleSoft record definition.


1. Log in to data mover in bootstrap mode(SYSADM user).

2. Run below command

update PSOPRDEFN set OPERPSWD = ‘Your password’, ENCRYPTED = 0 where OPRID = ‘PS’;
ENCRYPT_PASSWORD *;

3. With above sql we can change the password for all PeopleSoft application users.

Use single cotes, if you copy the above text it will be with different special character.

1. From registry.xml in MW_HOME View the registry.xml file.

<component name=”WebLogic Server” version=”10.3.6.0” InstallDir=”/home/weblogic/bea/weblogic/wlserver_10.3″>


2.From Weblogic.jar file.Change the directory to MW_HOME/wlserver_XX.X/server/lib and run below command

[weblogic@localhost lib]$ java -cp weblogic.jar weblogic.version

WebLogic Server 10.3.6.0  Tue Nov 15 08:52:36 PST 2011 1441050

Use ‘weblogic.version -verbose’ to get subsystem information

Use ‘weblogic.utils.Versions’ to get version information for all modules


3.From weblogic Admin console


Tmadmin is a command line utility which incorporates with Tuxedo installed in environment. With tmadmin command line we can start and stop the services with out effecting other services.

To check Tuxedo version run below command

tmadmin -v

With tmadmin(Tuxedo command line) we can start andstop specific process running on PeopleSoft Application server and Process Scheduler Server.

There are two ways to perform, ie one is with group name and second is with id.You can find group name and id with domain status menu either in application server or process scheduler server.

If you want to start only PUBSUB(Integration broker services) process, now you can use with group name as shown below command from tuxedo command line.

>PSADMIN

—> 1) Application Server

–>1) Administer a domain

–>1) ABCD  (” Choose the domain that you are going to start PUBSUB”)

–>5) TUXEDO command line (tmadmin)

–> boot -g PUBSUB

If you want to bring down then use “shutdown -g PUBSUB”

If you want to start AESRV process use ” boot -g AESRV”

If you want to stop AESRV process use “shutdown -g AESRV

Note: The letter “-g” refers group name from domain status, If you want to bounce with ID then use “-i” instead of “-g” in above all commands.

Example: Stopping process with ID is shown in below command

shutdown -i 103

In my scenario ID “103” refers to   process “PSDSTSRV” , you can find the ID and corresponding Process in domain status menu option .

Note:If you select with group name then, it only effects specific group. Where as in ID it is different, one single id might represents multiple types of process.


1. Below command counts X days old files and directories at Present directory.If you want to sort from different directory use path instead of dot(.)

find .  -mtime +x | wc -l (present directory)

find /home/varun/  -mtime +x | wc -l (sort in different directory)

2.Below Command lists X days old files and directories.

find .  -mtime +x | ls -ltr

3.Below command lists specific format files of X days old.

example: If you want all files which are 50 days older and end with log extension

find -name “*.log” –mtime +50

4.If you want to delete 50 days old files with extension “.log”.

find . -name “*.log” -mtime +50 -exec rm -f {} \;

5.If you want to delete 50(any number) days old files and directories recursively then use below command.

find . -mtime +1100 -exec rm -rf {} \;

More Info:

find: the command that will search for the files
/path/to/files/: the top level directory to start searching
-type f: so we don’t remove directories, only files
-mtime +7: files older than ’7′ days. Change to ‘+14′ to delete files older than 2 weeks.
-exec: what to do with the files we find
rm -rf: remove them recursively, force
{}: this represents each file we find
\;: the end of the exec

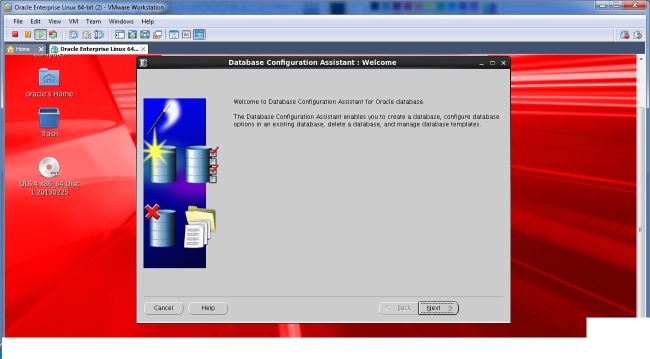
DBCA:( Database configuration assistant) :- The dbca utility is typically located in ORACLE_HOME/bin.With dbca we can create database only after installing oracle database binaries.

As a oracle user execute dbca from $OACLE_HOME/bin as shown below.Use GUI mode to launch console.

[oracle@localhost ~]$ cd $ORACLE_HOME
[oracle@localhost dbhome_1]$ cd bin/
[oracle@localhost bin]$ ./dbca


Image

Select Next.

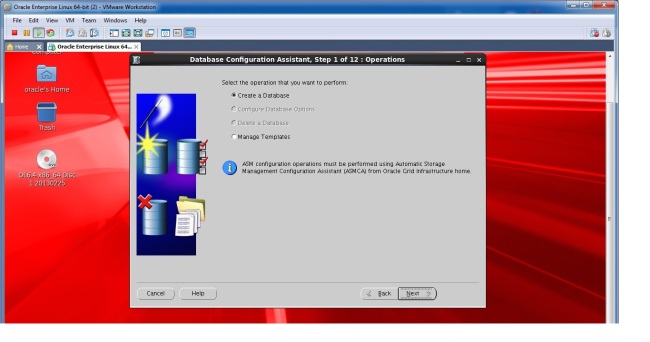
Image

select Create database and then Next.

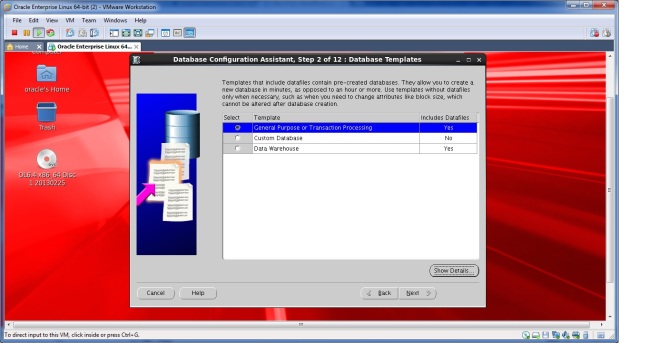
Image

Select General perpose and then Next.

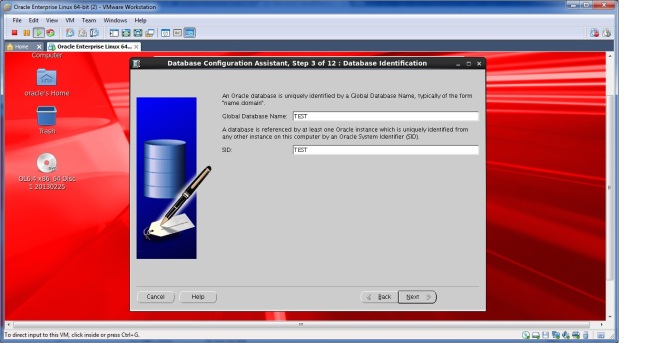
Image

Enter the SID( database name) of your choice then Next.

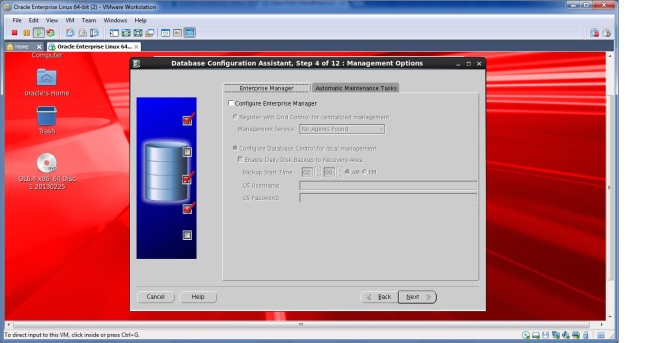
Image

Since i don’t use OEM , so i unchecked the configure enterprise manager option.

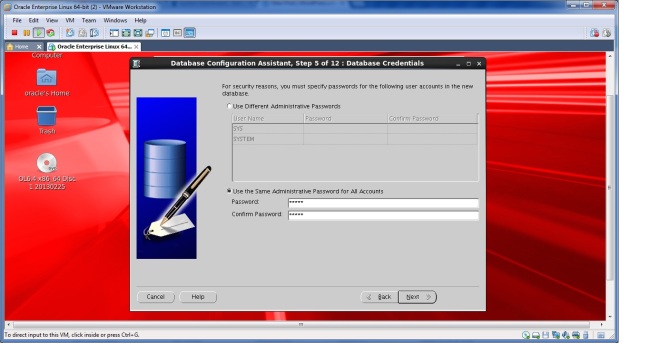
Image

Specify the administrator user password and then Next.

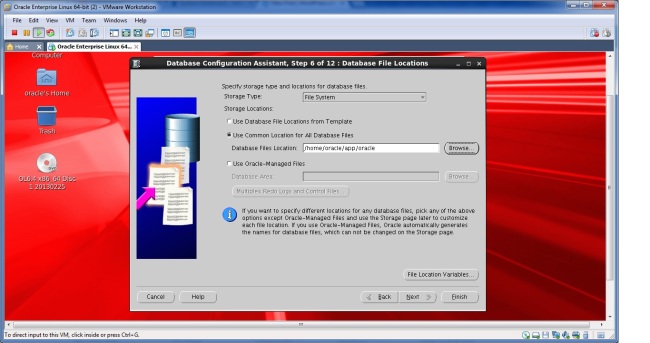
Image

Select the location where to save the datafiles whether as specified in template or other location.

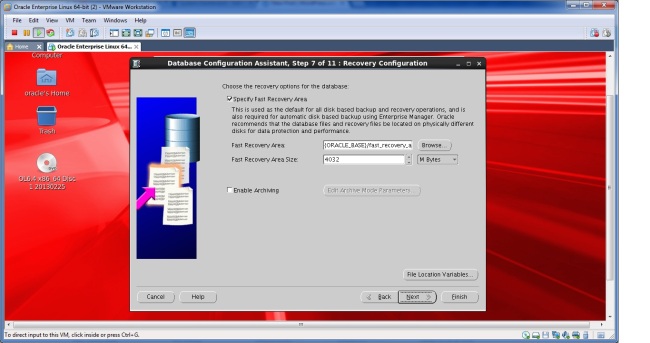
Image

I didnt change any values , Selecting Next button without changing any values.

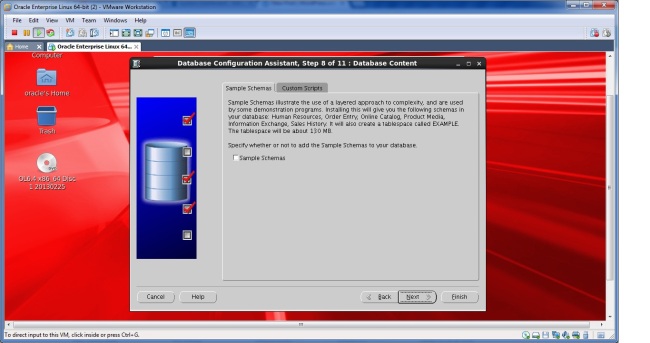
Image

I am not going to add any sample schemas in database , so i am just selecting Next.

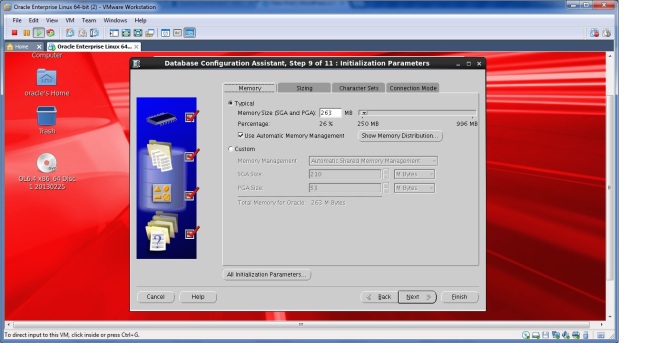
Image

Above you can change Memory size and character set in different tabs.Then Next.

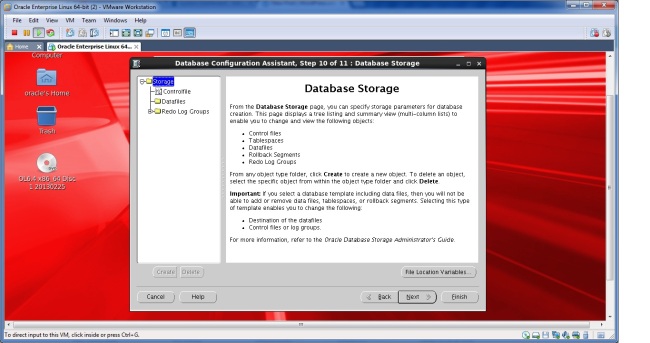
Image

Select Next.

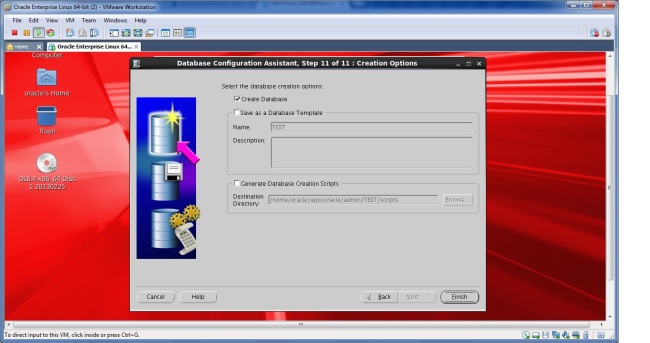
Image

Select Create database button to create database or select create template to create database template which can be further used to create database with above parameter values specified.

If you select Generate create database scripts to create database with response file(silent instillation)

Then  finish.

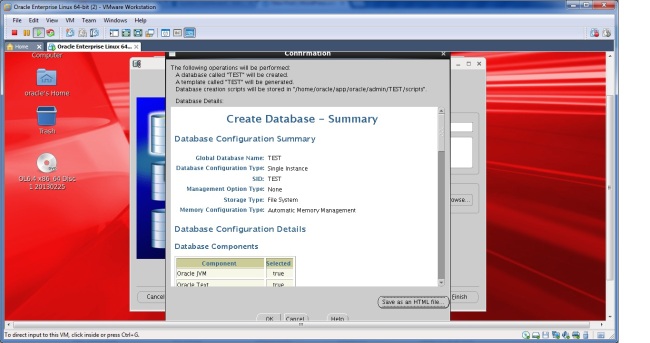
Image

Select ok.

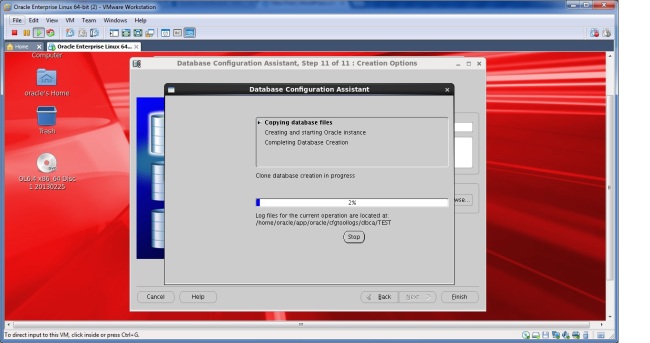
Image

Database creation has been in progress.Once it is done , select exit in popup.

Hardware requirements:

Kernel Requirements On Oracle Linux 6
2.6.32-100.28.5.el6.x86_64 or later . To verify execute the  “uname -r” command.

Memory Requirements:

Minimum: 1 GB of RAM. To verify execute “grep MemTotal /proc/meminfo” command.

Swap memeoy should be 1.5 times of RAM. to verify execute “grep SwapTotal /proc/meminfo” command.

Disk Space Requirements:

At least 1 GB of disk space in the /tmp directory.To verify execute “df -h /tmp” command.

And for database binaries and datafiles size depends on the type of installations , its better to have 10 GB of free space where datafiles and binaries recedes.

 Package Requirements:

The following or later version of packages for Oracle Linux 6, and Red Hat Enterprise Linux 6 must be installed:
binutils-2.20.51.0.2-5.11.el6 (x86_64)
compat-libcap1-1.10-1 (x86_64)
compat-libstdc++-33-3.2.3-69.el6 (x86_64)
compat-libstdc++-33-3.2.3-69.el6.i686
gcc-4.4.4-13.el6 (x86_64)
gcc-c++-4.4.4-13.el6 (x86_64)
glibc-2.12-1.7.el6 (i686)
glibc-2.12-1.7.el6 (x86_64)
glibc-devel-2.12-1.7.el6 (x86_64)
glibc-devel-2.12-1.7.el6.i686
ksh
libgcc-4.4.4-13.el6 (i686)
libgcc-4.4.4-13.el6 (x86_64)
libstdc++-4.4.4-13.el6 (x86_64)
libstdc++-4.4.4-13.el6.i686
11
libstdc++-devel-4.4.4-13.el6 (x86_64)
libstdc++-devel-4.4.4-13.el6.i686
libaio-0.3.107-10.el6 (x86_64)
libaio-0.3.107-10.el6.i686
libaio-devel-0.3.107-10.el6 (x86_64)
libaio-devel-0.3.107-10.el6.i686
make-3.81-19.el6
sysstat-9.0.4-11.el6 (x86_64)

Oracle ODBC Drivers :

On Oracle Linux 6 and Red Hat Enterprise Linux 6:
– unixODBC-2.2.14-11.el6 (x86_64) or later
– unixODBC-2.2.14-11.el6.i686 or later
– unixODBC-devel-2.2.14-11.el6 (x86_64) or later
– unixODBC-devel-2.2.14-11.el6.i686 or later

Installation Procedure 

1. Download Oracle database software from OTN.

2.If you downloaded on windows, use WinScp or some other tool to copy to Linux.

3. Unzip the zip files on your Linux machine.

4.Creating oracle user and groups.

[root@varun ~]# /usr/sbin/groupadd oinstall

[root@varun ~]# /usr/sbin/groupadd dba

[root@varun ~]# /usr/sbin/useradd -g oinstall -G dba oracle

[root@varun ~]# passwd oracle
Changing password for user oracle.
New password:
BAD PASSWORD: it is too short
BAD PASSWORD: is too simple
Retype new password:
passwd: all authentication tokens updated successfully.
[root@varun ~]#

5. creating directories for oracle binaries.

[root@varun ~]# mkdir -p /dboracle/app/

[root@varun ~]# chown -R oracle:oinstall /dboracle/app/

[root@varun ~]# chmod -R 775 /dboracle/app/

6.Installing RPM’s

Make sure you  have installed all the above rpms , that specified

To install rpm execute “rpm -ivh ********” to verify whether it is already exist execute “rpm -qa ***********” .

You can also use YUM utility to install rpms . YUM configuration is explained in my previous post.

Configuring Kernel Parameters

Add below parameters in /etc/sysctl.conf file using text editer.If those values already exists then skip those parameters .

fs.aio-max-nr = 1048576
fs.file-max = 6815744
kernel.shmall = 2097152
kernel.shmmax = 536870912
kernel.shmmni = 4096
kernel.sem = 250 32000 100 128
net.ipv4.ip_local_port_range = 9000 65500
net.core.rmem_default = 262144
net.core.rmem_max = 4194304
net.core.wmem_default = 262144
net.core.wmem_max = 1048576

after adding above parameters run the “/sbin/sysctl -p” command from your terminal.

Below error i  got after running sysctl -p

error: “net.bridge.bridge-nf-call-ip6tables” is an unknown key
error: “net.bridge.bridge-nf-call-iptables” is an unknown key
error: “net.bridge.bridge-nf-call-arptables” is an unknown key

I have commented those parameters in /etc/sysctl.conf file and i ran again “sysctl -p” command.

Check Resource Limits for the Oracle Software Installation Users

Make sure you have set below hard and soft limit values for oracle users , if not add below lines in /etc/security/limits.conf file using text editor.

oracle soft nproc 2047
oracle hard nproc 16384
oracle soft nofile 1024
oracle hard nofile 65536
oracle soft stack 10240

Install the Database binaries using runinstaller as a oracle user from the sofware location(database directory).Use GUI to launch the runinstaller .Make sure the oracle user has read,write and execute permissions on software location, if not grant 775 permission.

If you see any issues related to “java.lang. ….  ” some couple of lines or issue like “could not able to load display”. execute “xauth list” command as a root user, and then next as a oracle user execute xauth add (output which you got from above xauth list as root user)
example : as a root user

[root@varun Desktop]# xauth list

As a oracle user add above output of xuath list  to below xauth add.

[oracle@varun database]$ xauth add varun/unix:0  MIT-MAGIC-COOKIE-1  8e5dcac3f72c62dc0f2cc20ca3234136

Launching runinstaller 

[oracle@varun database]$ ./runInstaller
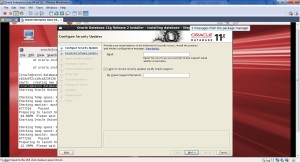
1

If you are not interested in receiving security updates from oracle , just uncheck the check button. Then Next.
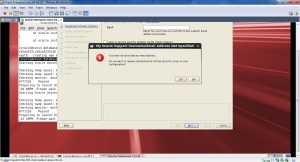
2'

Select yes in popup.

3

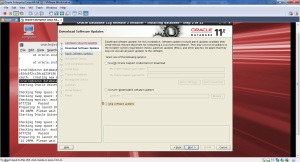
I selected the skip software updates, since i dosent require to get updates from oracle directly.Then Next.
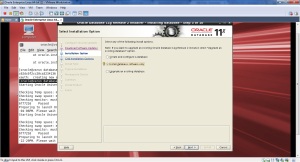
4

I selected install software only.

5

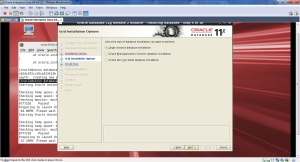
select the single instance database.

6

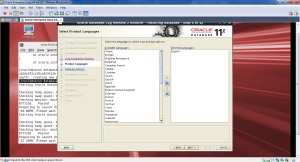
By default English language is selected. select Next.
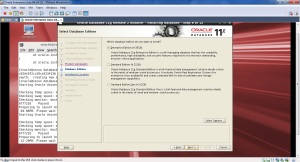
7

select type of installation, then Next.
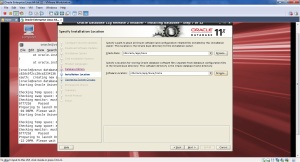
8

Browse oracle home and oracle base directory and Next.
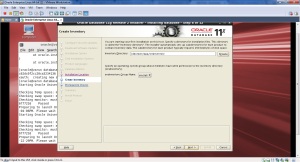
9

Browse the oracle inventory location . Then Next.
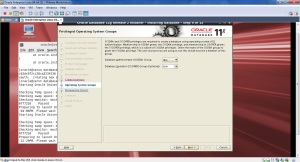
11

Verify the database administrator and operator group. Then Next.

I got an error message in next page , it says “ins-30060 check for group existence failed” i have checked lot of stuff in metalink and google.By rebooting the server  issue got fixed.
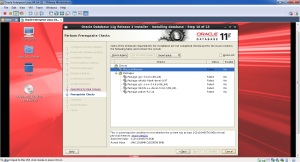
12


above packages are missed , i am going to install those with YUM , as YUM will take care of perquisites and dependencies , makes simple to install.

I didnt find pdksh package in my YUM repository , So i googled and downloaded  from site.
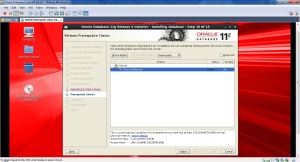
14


My Physical memory(RAM) is not enough , so i am ignoring this warning and proceeding with next  .
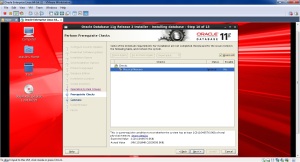
15


16


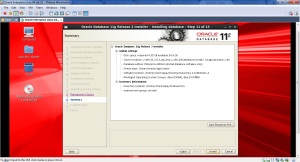
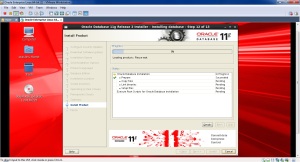
select install.

17

18


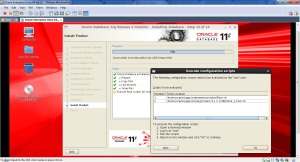
As a root user run both above scripts.

Add below  environment variables to  bash profile or into script .

export ORACLE_HOME=/home/oracle/app/oracle/product/11.2.0/dbhome_1
export ORACLE_BASE=/home/oracle/app/
export PATH=/home/oracle/app/oracle/product/11.2.0/dbhome_1/bin:$PATH