Hardware requirements:
Kernel Requirements On Oracle Linux 6
2.6.32-100.28.5.el6.x86_64 or later . To verify execute the “uname -r” command.
Memory Requirements:
Minimum: 1 GB of RAM. To verify execute “grep MemTotal /proc/meminfo” command.
Swap memeoy should be 1.5 times of RAM. to verify execute “grep SwapTotal /proc/meminfo” command.
Disk Space Requirements:
At least 1 GB of disk space in the /tmp directory.To verify execute “df -h /tmp” command.
And for database binaries and datafiles size depends on the type of installations , its better to have 10 GB of free space where datafiles and binaries recedes.
Package Requirements:
The following or later version of packages for Oracle Linux 6, and Red Hat Enterprise Linux 6 must be installed:
binutils-2.20.51.0.2-5.11.el6 (x86_64)
compat-libcap1-1.10-1 (x86_64)
compat-libstdc++-33-3.2.3-69.el6 (x86_64)
compat-libstdc++-33-3.2.3-69.el6.i686
gcc-4.4.4-13.el6 (x86_64)
gcc-c++-4.4.4-13.el6 (x86_64)
glibc-2.12-1.7.el6 (i686)
glibc-2.12-1.7.el6 (x86_64)
glibc-devel-2.12-1.7.el6 (x86_64)
glibc-devel-2.12-1.7.el6.i686
ksh
libgcc-4.4.4-13.el6 (i686)
libgcc-4.4.4-13.el6 (x86_64)
libstdc++-4.4.4-13.el6 (x86_64)
libstdc++-4.4.4-13.el6.i686
11
libstdc++-devel-4.4.4-13.el6 (x86_64)
libstdc++-devel-4.4.4-13.el6.i686
libaio-0.3.107-10.el6 (x86_64)
libaio-0.3.107-10.el6.i686
libaio-devel-0.3.107-10.el6 (x86_64)
libaio-devel-0.3.107-10.el6.i686
make-3.81-19.el6
sysstat-9.0.4-11.el6 (x86_64)
Oracle ODBC Drivers :
On Oracle Linux 6 and Red Hat Enterprise Linux 6:
– unixODBC-2.2.14-11.el6 (x86_64) or later
– unixODBC-2.2.14-11.el6.i686 or later
– unixODBC-devel-2.2.14-11.el6 (x86_64) or later
– unixODBC-devel-2.2.14-11.el6.i686 or later
Installation Procedure
1. Download Oracle database software from OTN.
2.If you downloaded on windows, use WinScp or some other tool to copy to Linux.
3. Unzip the zip files on your Linux machine.
4.Creating oracle user and groups.
[root@varun ~]# /usr/sbin/groupadd oinstall
[root@varun ~]# /usr/sbin/groupadd dba
[root@varun ~]# /usr/sbin/useradd -g oinstall -G dba oracle
[root@varun ~]# passwd oracle
Changing password for user oracle.
New password:
BAD PASSWORD: it is too short
BAD PASSWORD: is too simple
Retype new password:
passwd: all authentication tokens updated successfully.
[root@varun ~]#
5. creating directories for oracle binaries.
[root@varun ~]# mkdir -p /dboracle/app/
[root@varun ~]# chown -R oracle:oinstall /dboracle/app/
[root@varun ~]# chmod -R 775 /dboracle/app/
6.Installing RPM’s
Make sure you have installed all the above rpms , that specified
To install rpm execute “rpm -ivh ********” to verify whether it is already exist execute “rpm -qa ***********” .
You can also use YUM utility to install rpms . YUM configuration is explained in my previous post.
Configuring Kernel Parameters
Add below parameters in /etc/sysctl.conf file using text editer.If those values already exists then skip those parameters .
fs.aio-max-nr = 1048576
fs.file-max = 6815744
kernel.shmall = 2097152
kernel.shmmax = 536870912
kernel.shmmni = 4096
kernel.sem = 250 32000 100 128
net.ipv4.ip_local_port_range = 9000 65500
net.core.rmem_default = 262144
net.core.rmem_max = 4194304
net.core.wmem_default = 262144
net.core.wmem_max = 1048576
after adding above parameters run the “/sbin/sysctl -p” command from your terminal.
Below error i got after running sysctl -p
error: “net.bridge.bridge-nf-call-ip6tables” is an unknown key
error: “net.bridge.bridge-nf-call-iptables” is an unknown key
error: “net.bridge.bridge-nf-call-arptables” is an unknown key
I have commented those parameters in /etc/sysctl.conf file and i ran again “sysctl -p” command.
Check Resource Limits for the Oracle Software Installation Users
Make sure you have set below hard and soft limit values for oracle users , if not add below lines in /etc/security/limits.conf file using text editor.
oracle soft nproc 2047
oracle hard nproc 16384
oracle soft nofile 1024
oracle hard nofile 65536
oracle soft stack 10240
Install the Database binaries using runinstaller as a oracle user from the sofware location(database directory).Use GUI to launch the runinstaller .Make sure the oracle user has read,write and execute permissions on software location, if not grant 775 permission.
If you see any issues related to “java.lang. …. ” some couple of lines or issue like “could not able to load display”. execute “xauth list” command as a root user, and then next as a oracle user execute xauth add (output which you got from above xauth list as root user)
example : as a root user
[root@varun Desktop]# xauth list
As a oracle user add above output of xuath list to below xauth add.
[oracle@varun database]$ xauth add varun/unix:0 MIT-MAGIC-COOKIE-1 8e5dcac3f72c62dc0f2cc20ca3234136
Launching runinstaller
[oracle@varun database]$ ./runInstaller
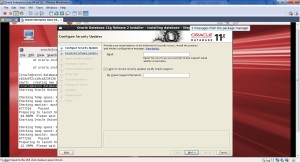
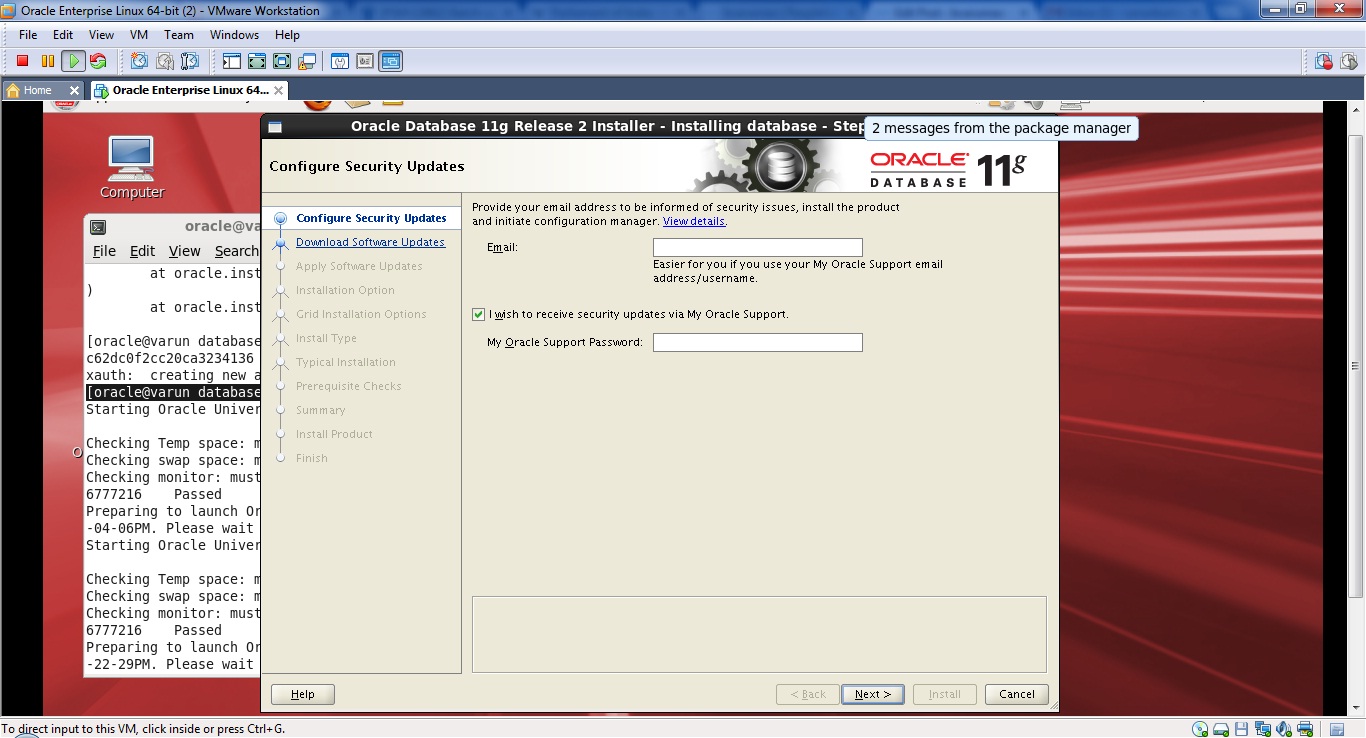
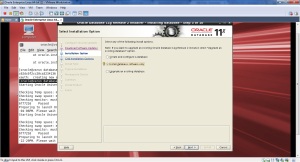
If you are not interested in receiving security updates from oracle , just uncheck the check button. Then Next.
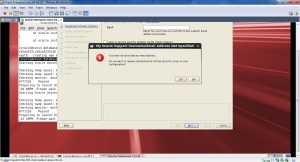
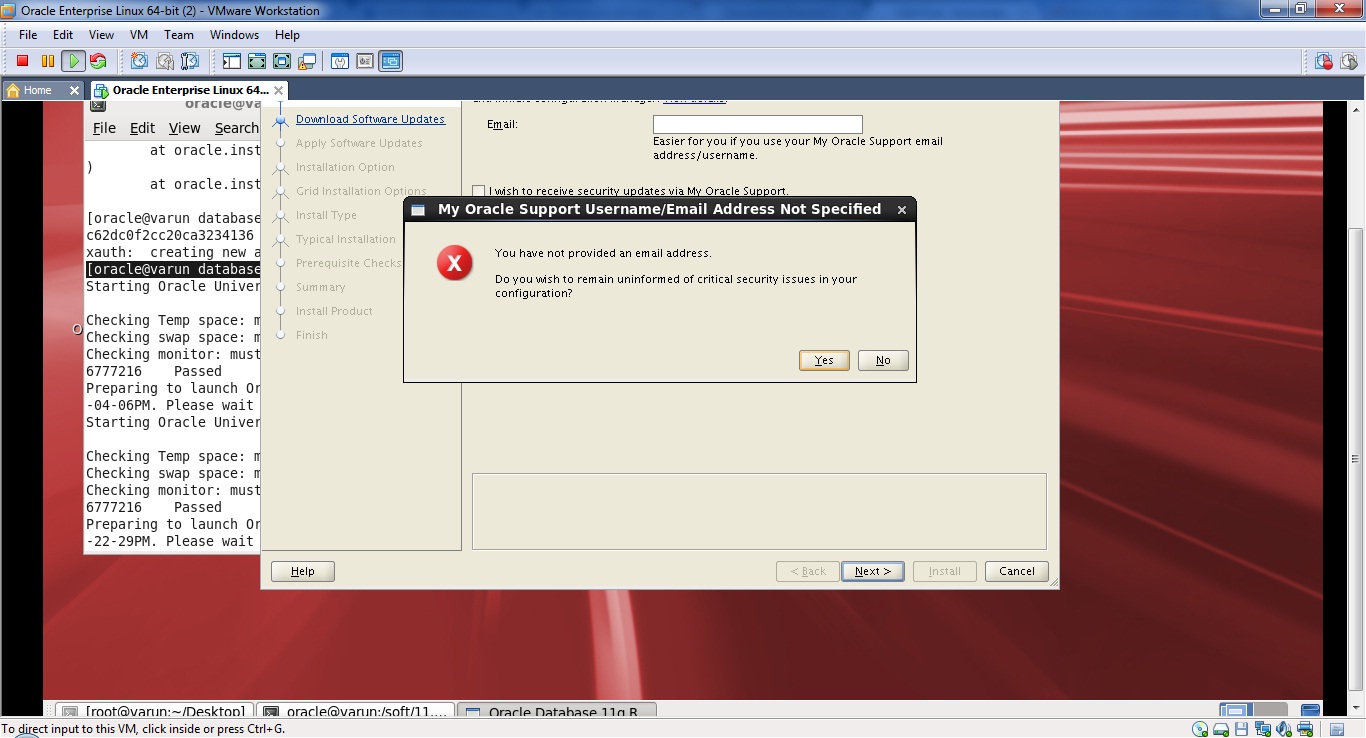
Select yes in popup.

I selected the skip software updates, since i dosent require to get updates from oracle directly.Then Next.
I selected install software only.

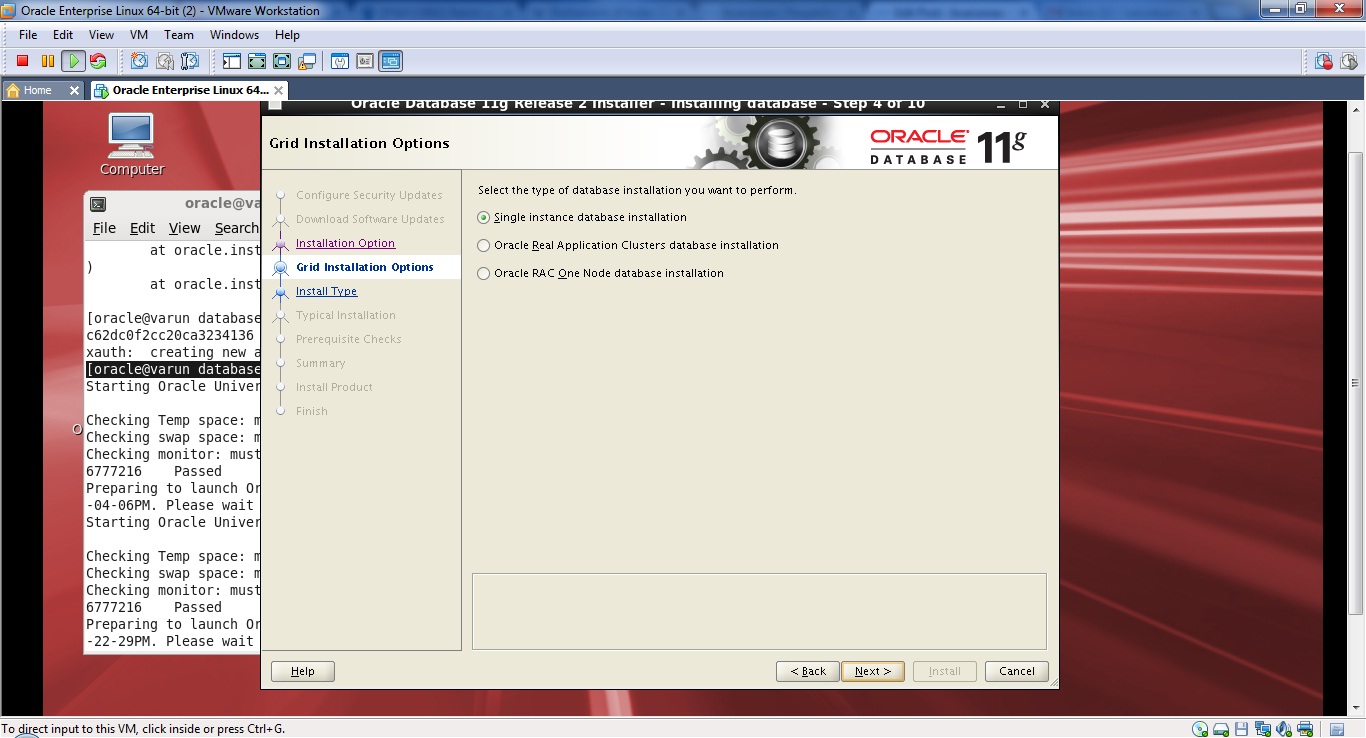
select the single instance database.
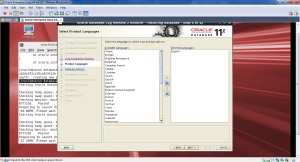
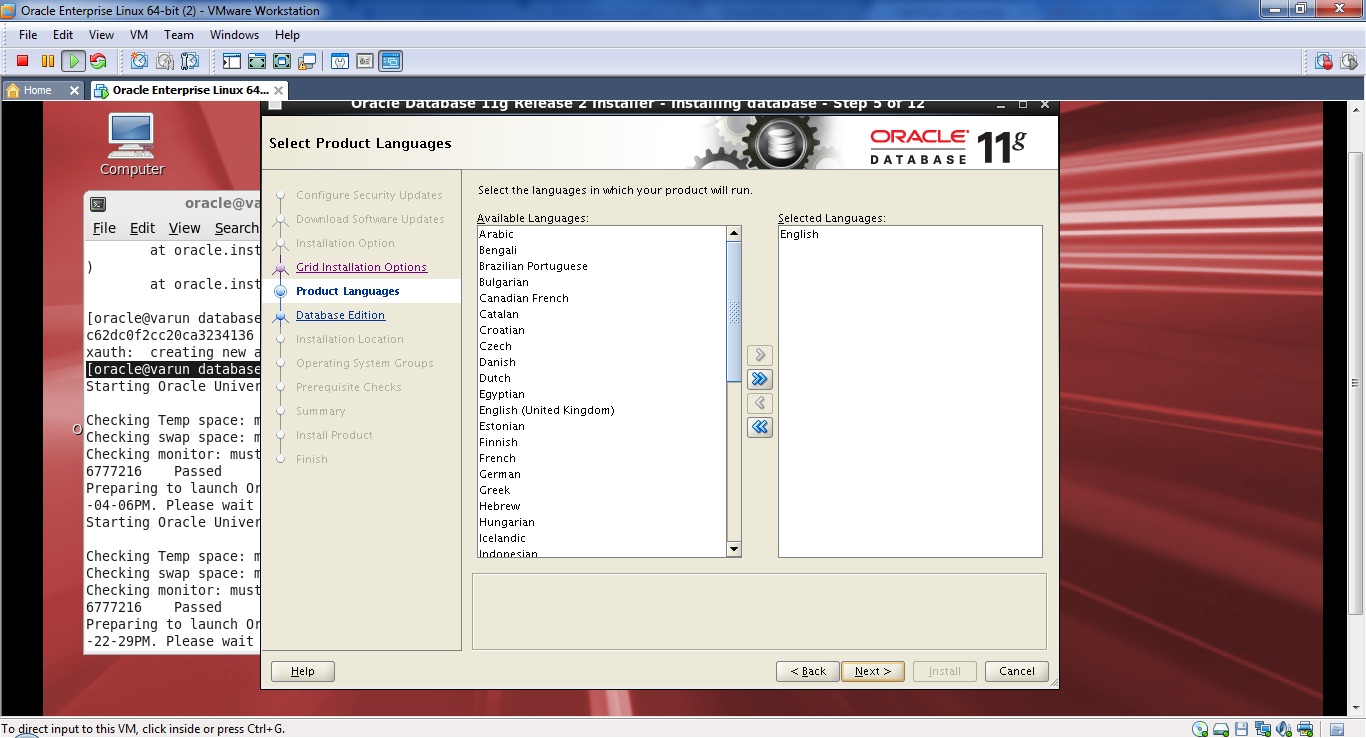
By default English language is selected. select Next.
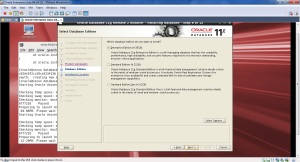
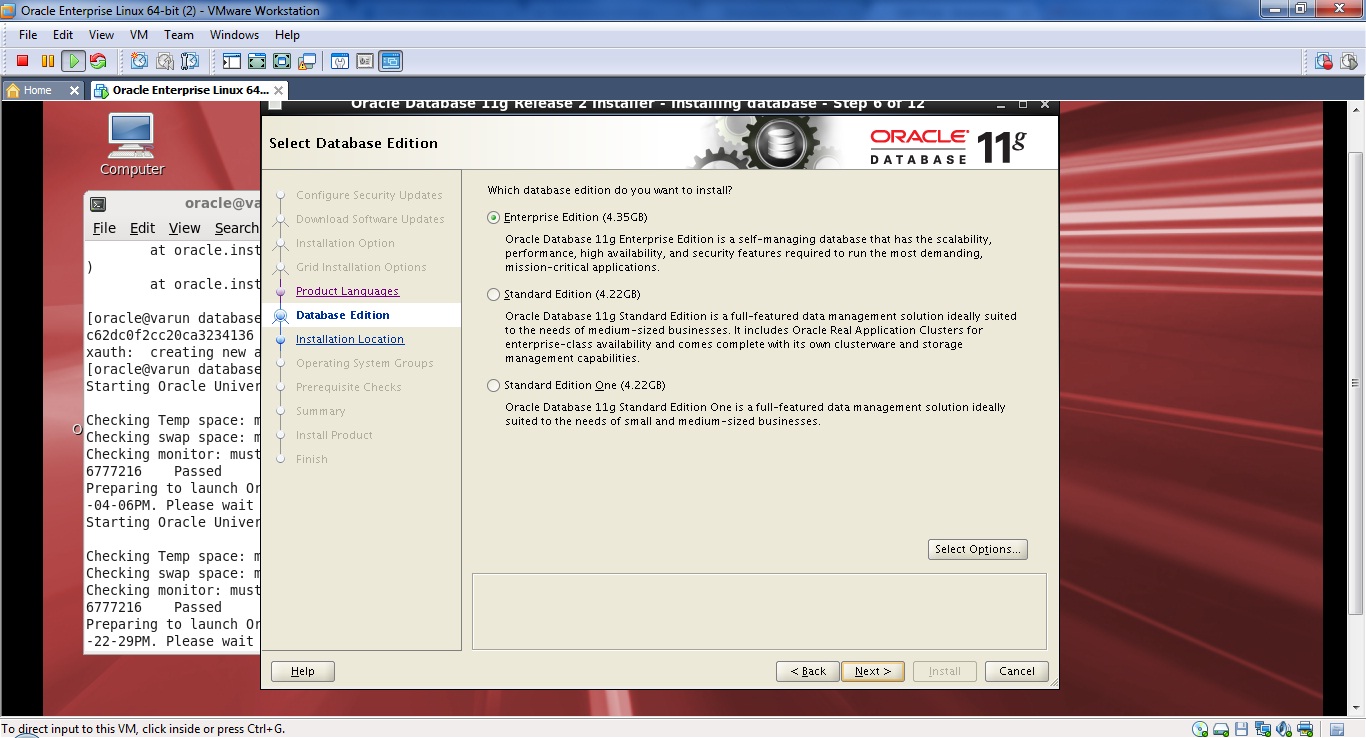
select type of installation, then Next.
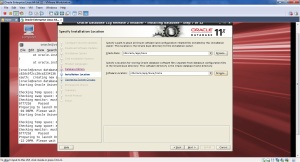
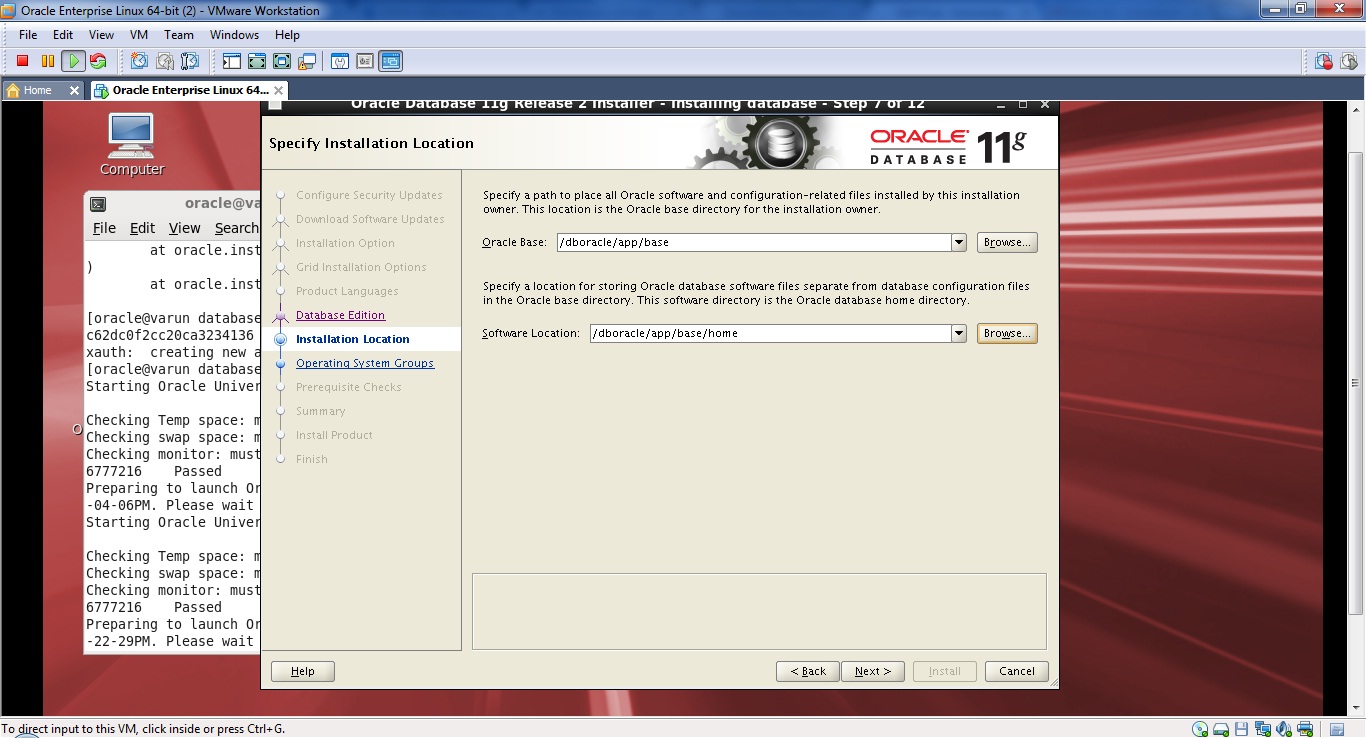
Browse oracle home and oracle base directory and Next.
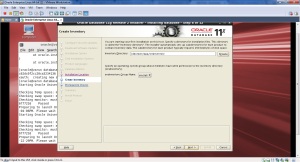
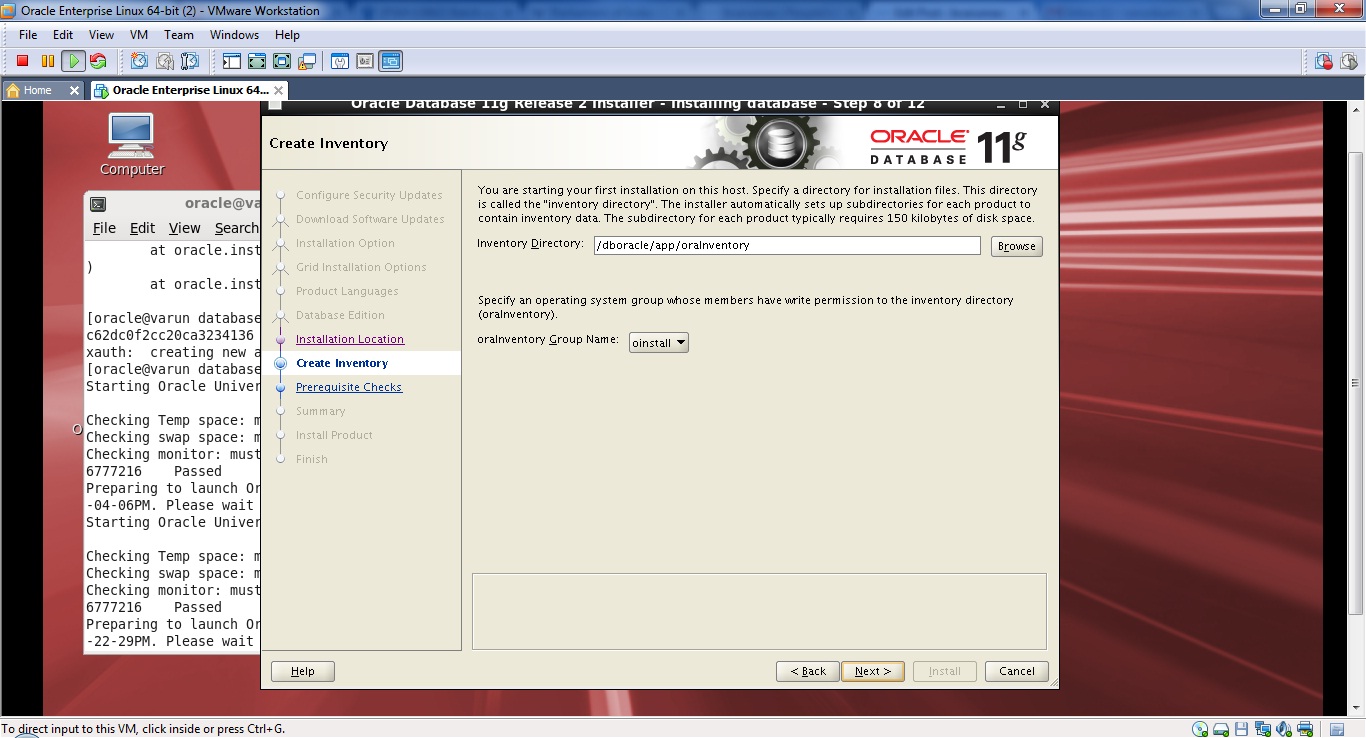
Browse the oracle inventory location . Then Next.

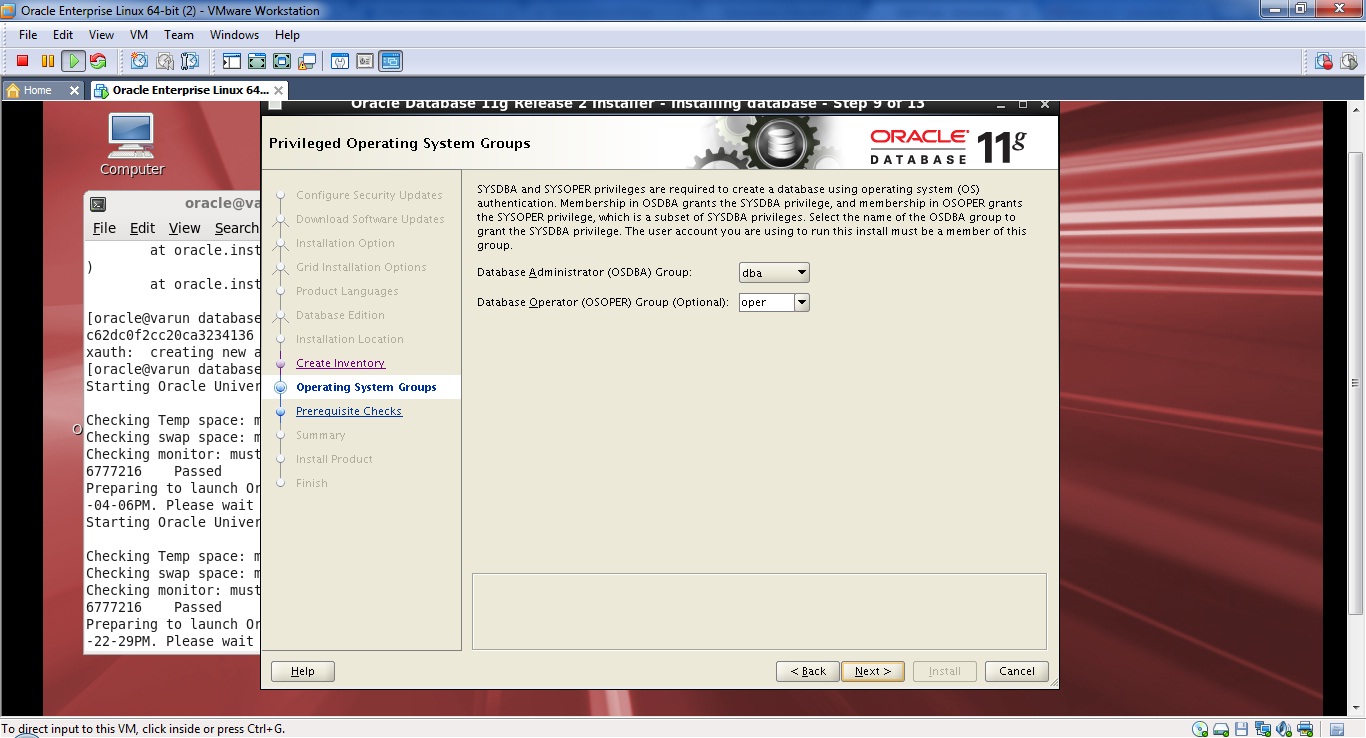
Verify the database administrator and operator group. Then Next.
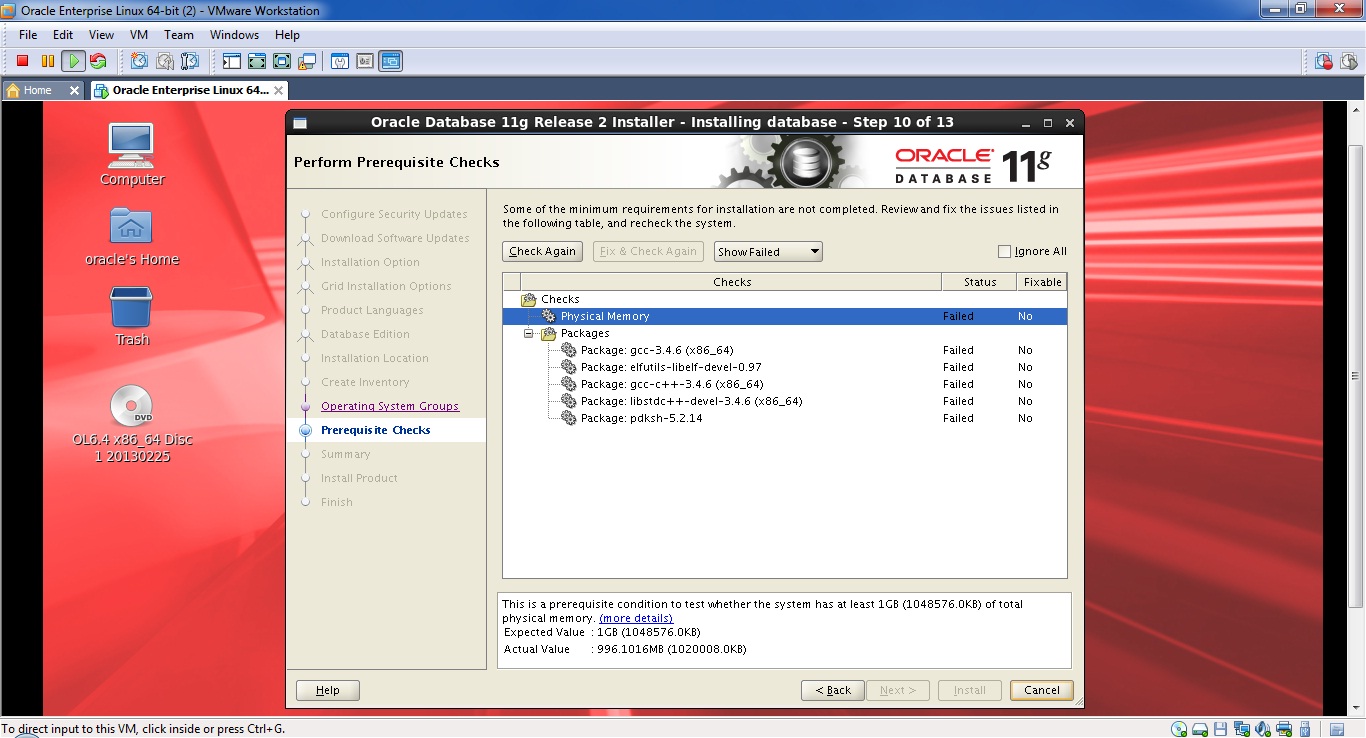
I got an error message in next page , it says “ins-30060 check for group existence failed” i have checked lot of stuff in metalink and google.By rebooting the server issue got fixed.
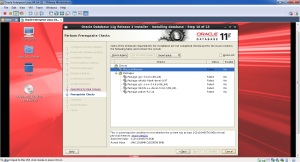
above packages are missed , i am going to install those with YUM , as YUM will take care of perquisites and dependencies , makes simple to install.
I didnt find pdksh package in my YUM repository , So i googled and downloaded from site.

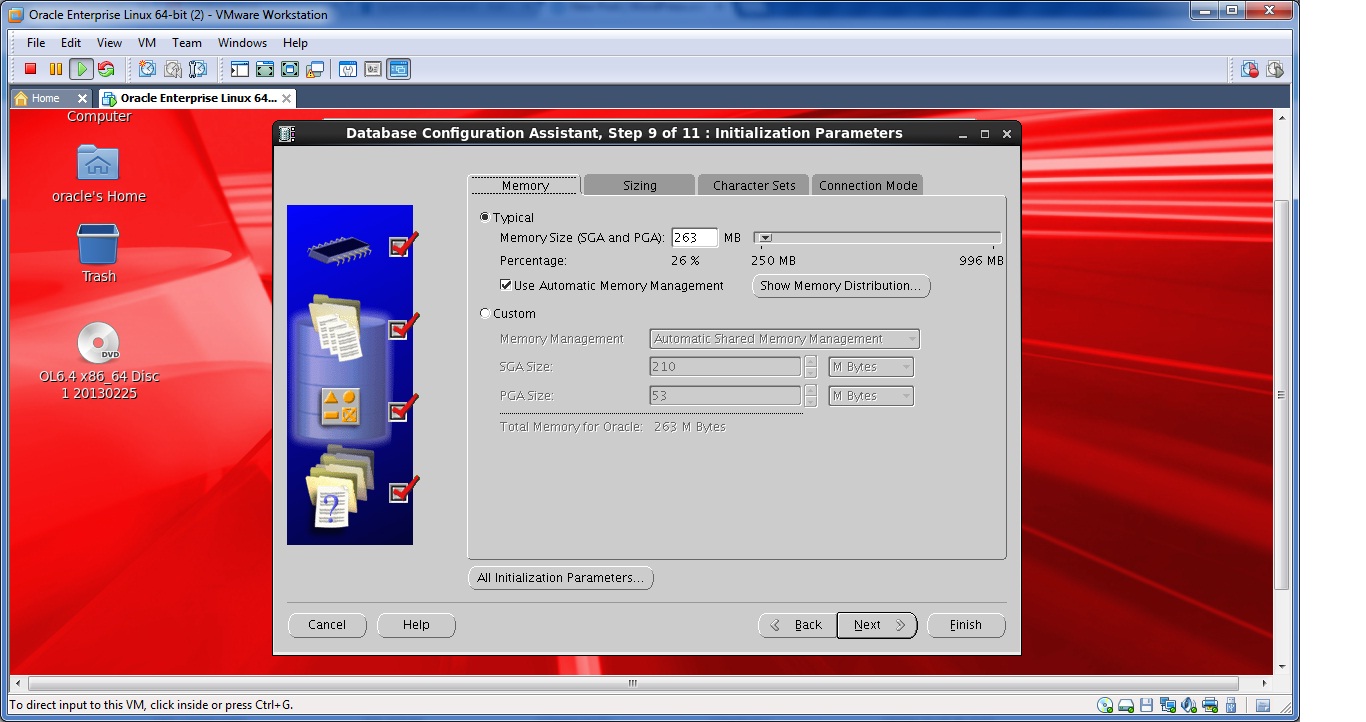
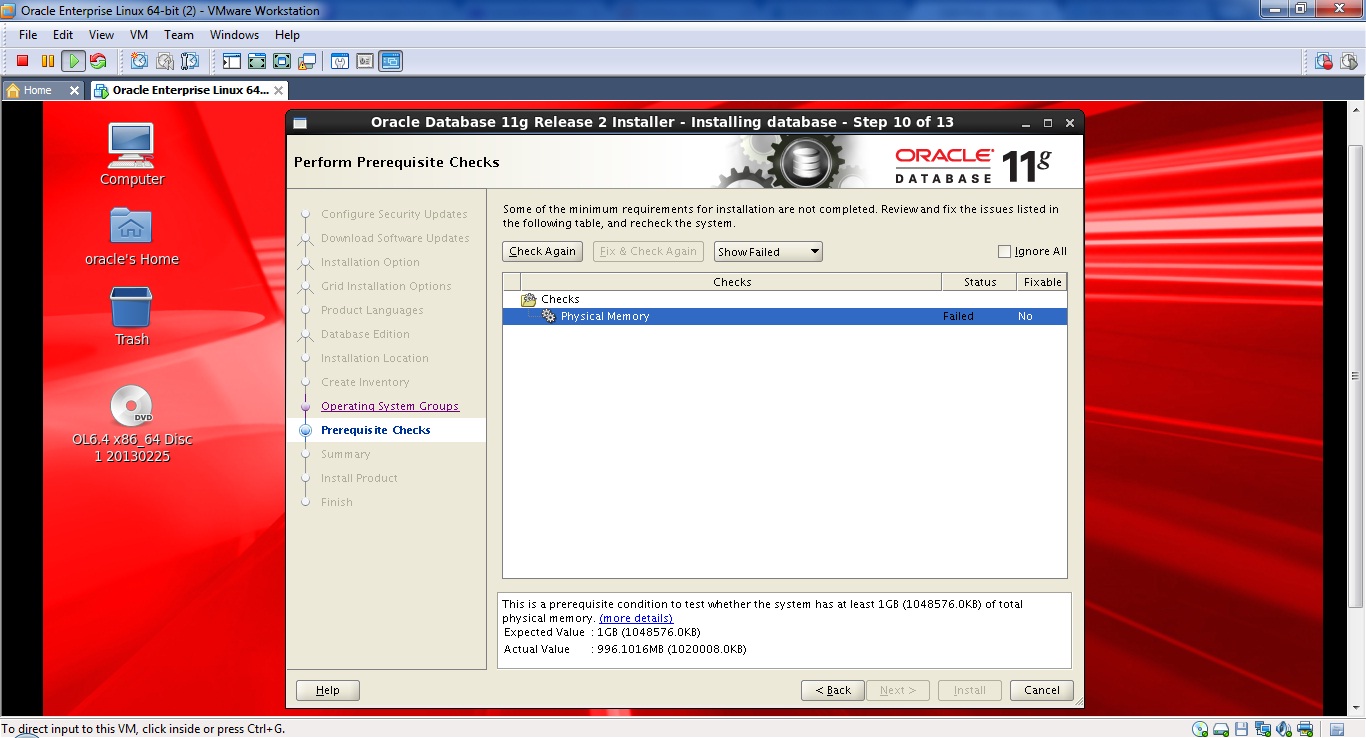
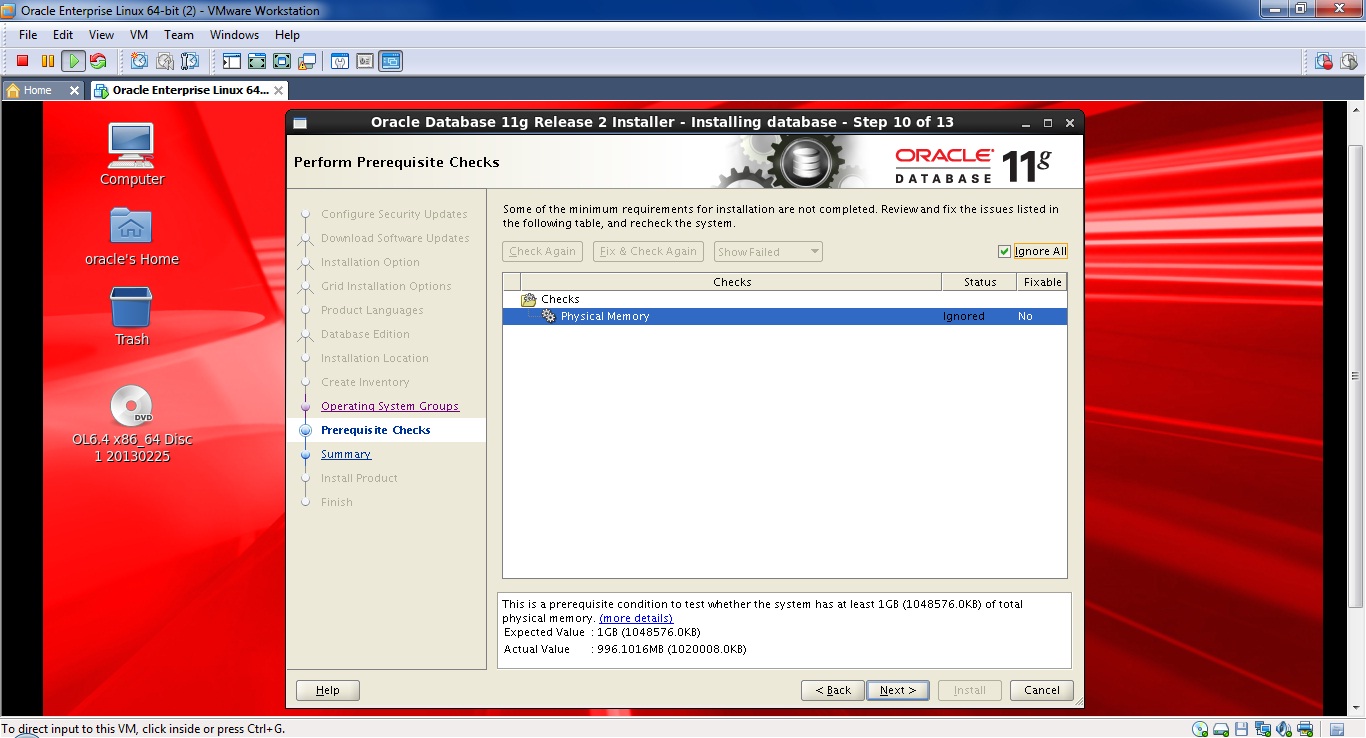
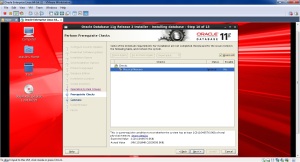
My Physical memory(RAM) is not enough , so i am ignoring this warning and proceeding with next .
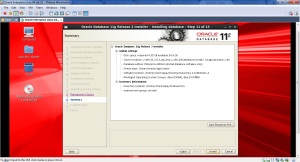
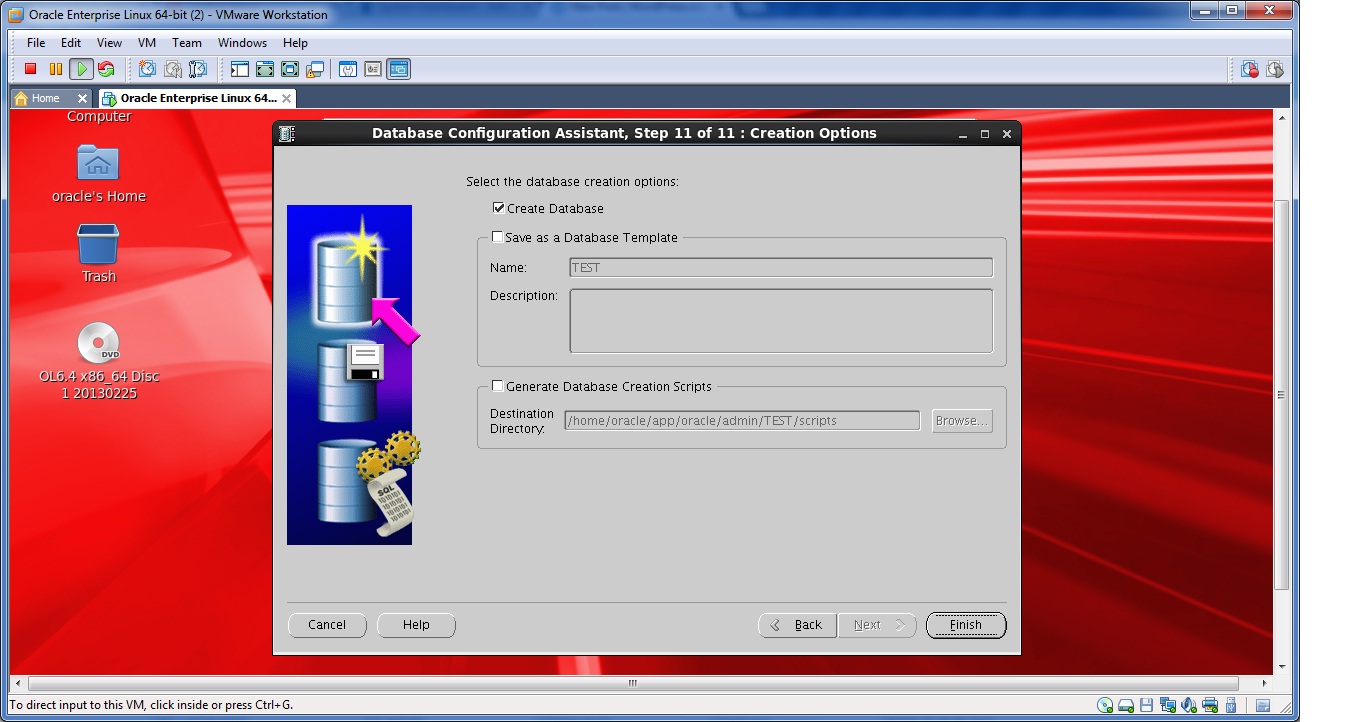
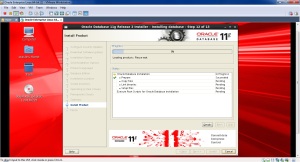
select install.
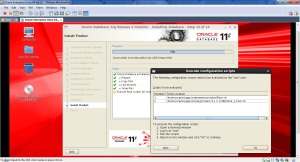
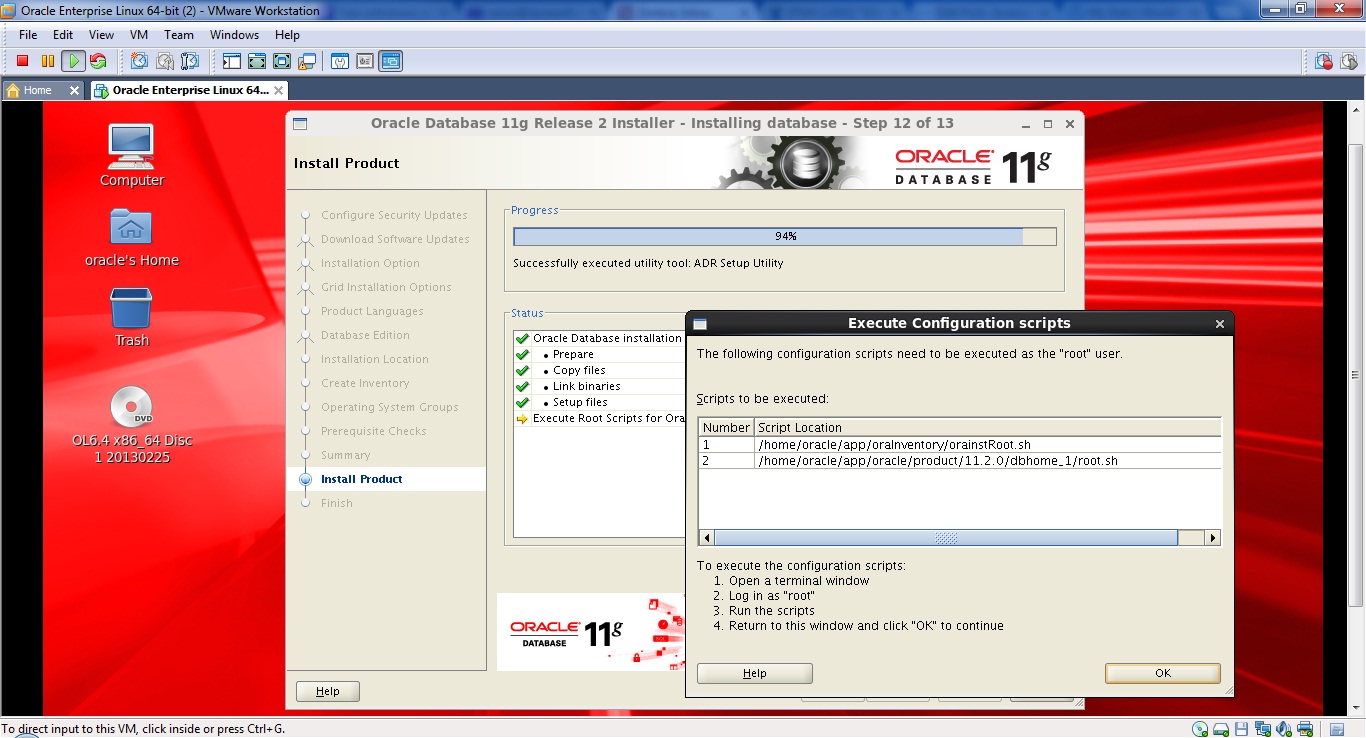
As a root user run both above scripts.
Add below environment variables to bash profile or into script .
export ORACLE_HOME=/home/oracle/app/oracle/product/11.2.0/dbhome_1
export ORACLE_BASE=/home/oracle/app/
export PATH=/home/oracle/app/oracle/product/11.2.0/dbhome_1/bin:$PATH